
How to Set Up a Fence: Build a Fence from Start to Finish
Erecting a fence can completely transform your garden and provide you with privacy, safety, and a defined area. It is a great do-it-yourself project that includes satisfaction when the fence is installed on your property, whether to safeguard the yard, create a secure area for children and animals, or simply enhance the house's appearance for passersby. But the question is, where to begin? The list of considerations is quite lengthy, ranging from selecting the right materials to ensuring accurate measurements and proper alignment for a fence that will last a long time. This detailed guide will accompany you through the entire process, from planning and preparation to the final touches, helping you create a fence that is not only practical but also attractive. So, prepare to take on this task with confidence and bring your idea to life! Find more info now.
Introduction to Building a Fence
The construction of the fence initiates through meticulous planning and preparation. Start with the purpose of your fence—be it privacy, security, or enhancing your yard's beauty. The next step is to check local regulations and property lines to ensure compliance with zoning laws and avoid disputes with neighbors. It is important to select high-quality materials that meet your needs and the weather conditions in your area. Take accurate measurements of your space to determine the length and number of panels or posts you need. After everything is settled, gather the tools you will need and do the site preparation by removing debris, then marking the layout that will serve as guide for your installation. The fence will be strong and long-lasting if this preparation is done well.
Importance of Fencing
Fencing is an essential element that defines a property's boundaries, provides protection, and enhances the overall functionality of the property. Below are five main reasons that show the importance of fencing:
Security and Safety
Fencing would make the area less attractive to trespassers, intruders, and wildlife. In fact, research shows that well-fenced properties are 30% less likely to be penetrated by intruders. Furthermore, fencing can help confine children and pets to your property.
Privacy
A strong, durable fence is a guarantee of privacy, keeping your house or property out of public view. This advantage is pivotal in urban and suburban areas, where homes are built relatively close together.
Property Value Enhancement
Fences add to the attractiveness of a property which could in fact uplift its value considerably through the market. Professional reports indicate that properties with both beautiful and functional fencing may be worth up to 10% more.
Boundary Definition
Fences establish clear property boundaries, reducing disputes between neighbors over land ownership. They provide a visible, tangible indication of where property boundaries lie.
Aesthetic Appeal
Fences can be made of different materials and come in various designs and styles, allowing homeowners to select options that best match their house’s architecture and garden. Well-kept fences enhance a property's overall appeal.
Types of Fences
There are a variety of fences to choose from, each designed to meet different needs, such as safety, aesthetics, and overall appearance. The most common types are:
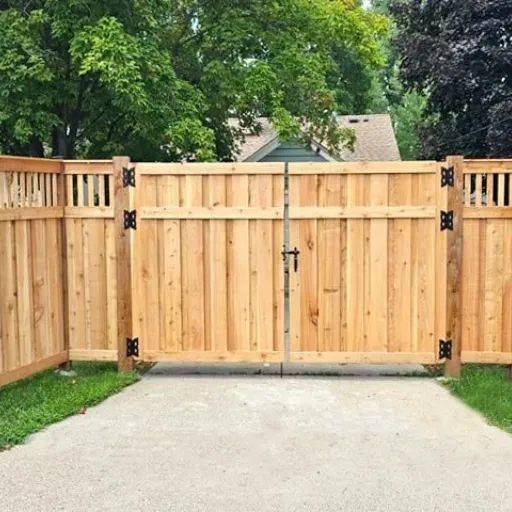
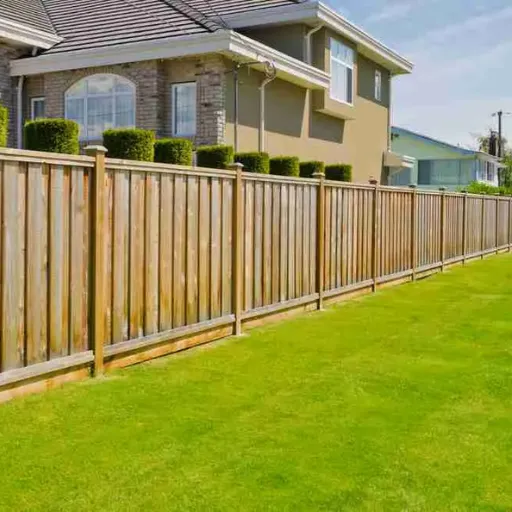
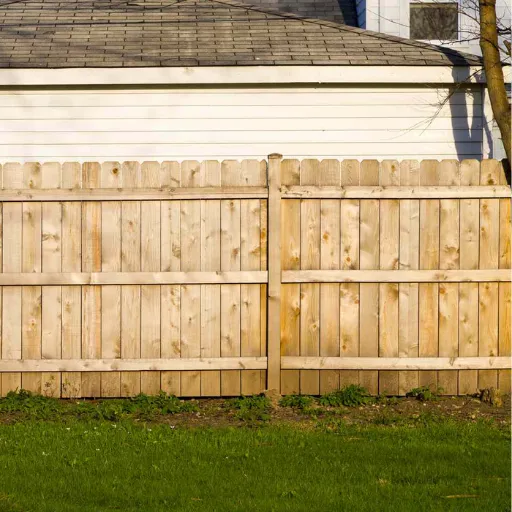
Wood Fences
Wood fences are always a popular choice and they appeal for their natural and timeless beauty. The available styles include picket, privacy, and split-rail, to name a few. Recent market studies have shown that wood is still the most preferred fencing material by people living in the U. S. - this fact is supported by the percentage of wood usage in residential fencing that is nearly equal to 50%. A wood fence can be well-maintained and last another 15-20 years with regular staining or sealing.
Vinyl Fences
Vinyl fences are durable and require minimal maintenance; therefore, they are increasingly popular. Their key strengths are resistance to decay, no pest attacks, and no color fading, which has led to longevity of over 30 years. The installation cost is higher than for wood, but there are no maintenance costs, making it a cost-effective option in the long run. Sales figures show that vinyl accounts for about 30% of fencing which offers an insight into its growing popularity.
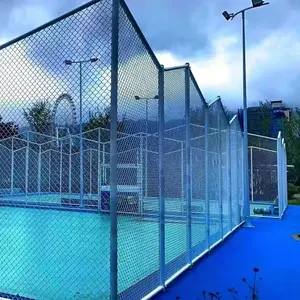
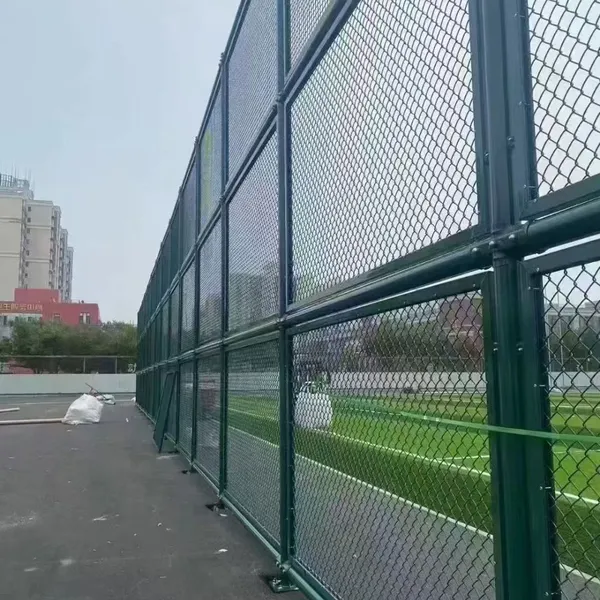
Chain-Link Fences
Chain-link fences are valued for their practicality and cost-effectiveness. Most places they are found are commercial, industrial, or residential areas where a fence is needed, yet people still want the view unobstructed. A chain-link fence can be expected to last 20-30 years before its quality is considered unsuitable for use. The data show that security is the primary reason people install chain-link fences, particularly in urban areas.
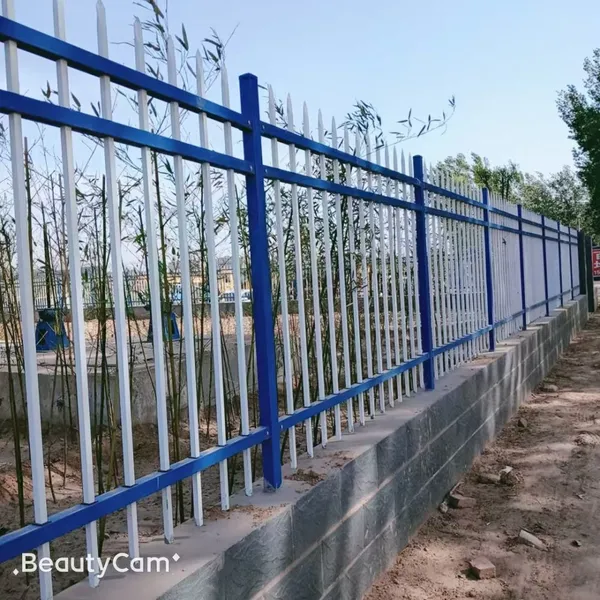
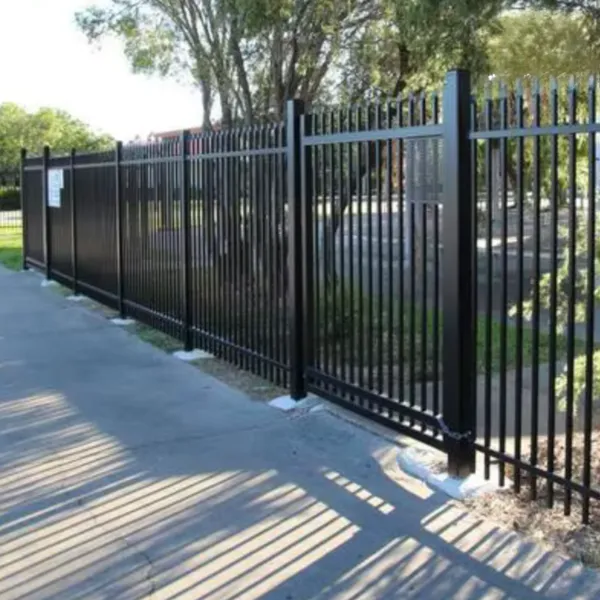
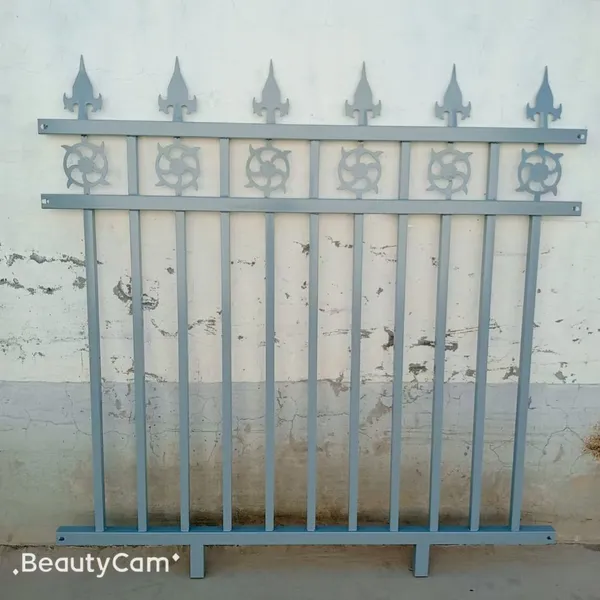
Metal Fences (Aluminum and Wrought Iron)
Fences made of aluminum and wrought iron are not only robust but also bring a hint of grace to the property. Aluminum is light and does not rust while wrought iron is powerful and quite old-fashioned with its brass finials and curls. These fences can be installed for ornamental purposes or to enhance property security. Wrought iron fencing gives a luxurious look, but it still needs occasional maintenance to prevent rust.
Composite Fences
Composite fences are made from a mixture of wood fibers and plastic materials. Therefore, they look like wood and are as durable as plastic, making them resistant to rot, insects, and weather damage. The fencing has seen popularity increase due to its eco-friendliness, with the fact that it is made from recyclable materials being one of the major appeals.
Electric or Invisible Fences
Mainly, electric or invisible fences are used to keep pets contained. These fences consist of a buried wire and a transmitter collar, used to keep animals within the marked area. The fencing method is less visible and trusted by pet owners who prefer a solution with a minimal aesthetic impact.
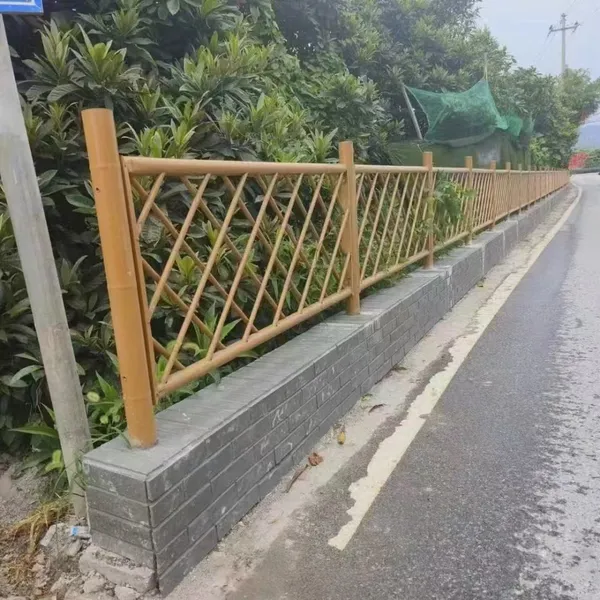
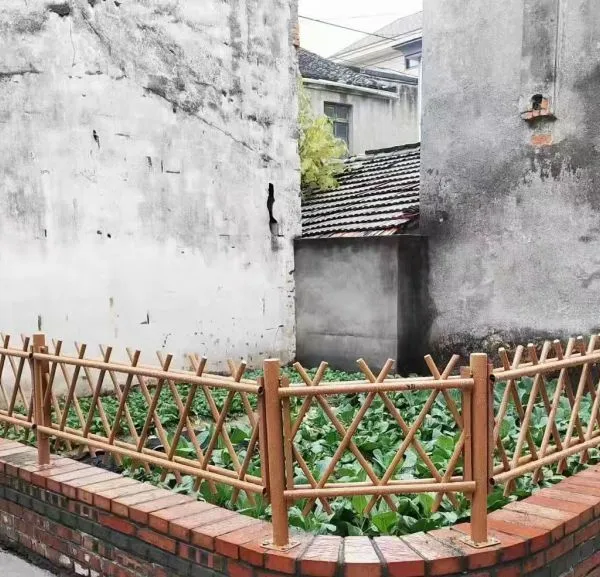
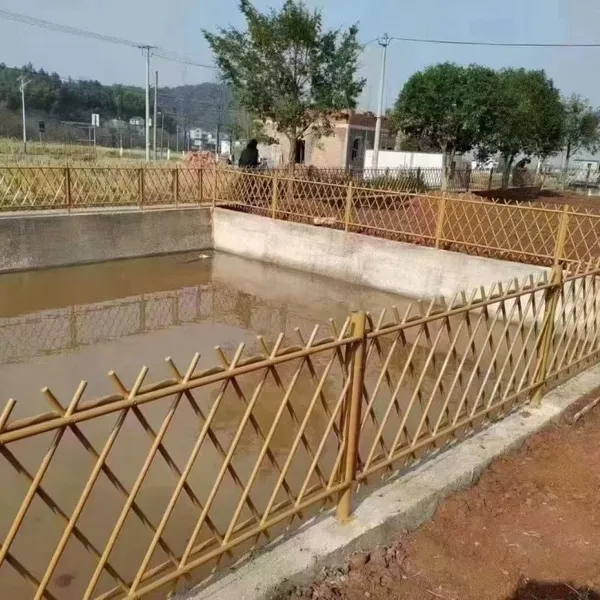
Bamboo Fences
Bamboo fences are the greenest and most eco-friendly; they are also the most distinctive and exotic-looking, which is one reason they are preferred. Although in some places they are not that commonly found, they offer a natural fence which is also an excellent option for the sustainability-oriented homeowner. The lifespan of bamboo fencing can range from 10 to 15 years, depending on the protection applied.
Fence Popularity by Region
Recent statistics indicate that the choice of fencing material varies significantly by geographic area. In particular:
The Northeastern United States prefers to use long-lasting materials like vinyl and metal due to extremely cold winters.
The South primarily uses wood and chain link for their lower cost and classic look.
The West Coast is taking a new dominant position in sales, and demand for eco-friendly alternatives, such as composite and bamboo, is steadily increasing.
When selecting a fence, economic constraints, weather conditions, security requirements, and aesthetic considerations are identified as the most critical factors.
Overview of the Process
Selecting and installing the right fence is a structured process that guarantees a long-lasting, functional, and compliant with local regulations fence. Here is a comprehensive outline of the essential steps:
Assess Your Needs
First of all, determine the main reason of the fence. Will it be a privacy barrier, an impenetrable zone, or just a visual aid for property demarcation? An analysis of Google Search trends for 2023 indicates that privacy fencing remains the most popular choice among U.S. consumers. It is estimated that this type of fencing accounts for around 60% of online fence searches in the country.
Research Materials and Costs
Mark the materials like wood, vinyl, metal, and composite, after taking their durability and climate compatibility into account. The data suggest that vinyl fences, although initially more expensive, are becoming popular because they require minimal maintenance, and online interest has grown by 25% annually.
Understand Local Regulations
Find out about zoning and HOA (Homeowners Association) restrictions where you live. These regulations typically specify the height, placement, and types of materials permitted for fences. For instance, in many urban areas, the maximum height for residential fencing is set to six feet.
Measure and Plan
Use accurate measurements when determining your property's perimeter, accounting for slopes or uneven ground. According to experts, precise measurements can reduce material costs by up to 10% by preventing overbuying and waste.
Hire Professionals or DIY
It is your choice whether to hire a contractor or to do it yourself. Google Trends shows a noticeable increase in DIY fence searches, suggesting that about 35% of homeowners now find it more economical to build their own fences than to hire professionals due to labor costs.
Install and Maintain
If you choose professional installation, plan a site survey beforehand to ensure accurate installation. Moreover, the fence’s lifespan can be significantly extended through regular maintenance, cleaning, and the application of water-resistant coatings. Research shows that maintenance can extend the life of fences, especially wood and composite ones, by up to 2x.
A thorough, up-to-date evaluation of each process step, combined with current trends and data, will help homeowners make informed choices when selecting a fence that meets their needs while staying within budget.
Tools and Materials Required

To set a fence accurately, gather essential tools and materials to make the process fast and efficient. Here is an exhaustive list:
Tools:
Measuring Tape - Precise measurements are essential for planning fence location and dimensions. A heavy-duty 25-foot tape measure is the best for most projects.
Post Hole Digger or Auger - These implements dig holes for fence posts. A manual digger is good for small installations, while an electric auger may be needed for larger jobs.
Level - Whether using a bubble level or a laser level, both guarantee that posts and panels are erect and this in turn adds up to the durability and appeal of the fence.
Hammer - For driving nails into wooden fencing components or for placing other materials.
Power Drill - A cordless drill with multiple bits saves time when installing screws or bolts.
Saw - You may need either a hand saw or a circular saw for cutting wooden panels or posts.
String Line and Stakes - It shows the fence line and helps cross-check for straightness.
Clamps are useful for keeping materials secure during assembly.
Protective Gear - Gloves, masks, and safety goggles must be worn at all times to prevent installation accidents.
Materials:
Fence Posts - They are the supports of your fence that are buried in the ground. You can choose from wood, vinyl, aluminum, or steel, depending on your budget and overall look.
Data Tip: Treated wood fence posts usually have a lifespan of 15-20 years while the lifespan of vinyl and metal posts could go up to 50 years or even more with just a little maintenance.
Panels or Pickets: They make up the visible part of the fence and are available in wood, composite, vinyl, or chain link.
Gravel or Concrete - This material is primarily used for post anchoring, keeping posts firmly in the ground. Quick-setting concrete is one of the most favored forms due to its speed.
Fasteners: screws, nails, or brackets used to connect panels to posts. Stainless steel or galvanized fasteners are highly recommended for their durability and rust resistance.
Weatherproof Coating (if applicable) - It is a barrier for wood or metal fencing against all kinds of deterioration and it prevents any insect or rodent activity around the fence.
Gate Kit - When you plan to include a gate in your fencing project, a separate hardware set is required.
A combination of the right tools and materials, along with the latest trends such as energy-efficient equipment and rot-resistant materials, will deliver a fence installation that is not only cost-effective but also durable and attractive.
Essential Tools for Fence Installation
Installing a fence requires various tools to ensure precision, speed, and the best possible quality. The list that follows is a thorough and completed list of the most essential and useful tools one needs in order to install a fence, as well as the latest tips and recommendations to delight the user with.
Post Hole Digger or Auger
The mentioned tools are essential for drilling holes in fence posts that are deep and equal in size. A manual post-hole digger is the best choice for a small project, while a gas-powered or hydraulic auger is ideal for saving time and effort on a larger installation. Up-to-date augers can dig holes up to 12 inches in diameter and several feet deep, making them suitable for a wide range of fence post sizes. Rental costs for augers typically range from $50–$100 per day.
Level and Measuring Tools
Ensuring your fence is straight and level is key to both its functionality and appearance. A 2-foot or 4-foot level lets you check whether the posts are aligned, and laser levels provide greater accuracy for longer distances. To get your measurements right, buy a long tape measure or a measuring wheel for larger plots of land.
Power Drill and Bits
A dependable power drill is essential for making pilot holes and driving screws. Battery-powered drills that use lithium-ion batteries are the most modern and they last very long for outdoor projects. On the other hand, spade or auger drill bits, which are the types of specialty bits, can be used for widening holes in wood or metal.
Saw
You will need different saws depending on what your fence is made of. A circular or miter saw is a good choice for cutting wood panels, while a reciprocating saw is ideal for working in smaller areas or tight spaces. For fencing in metals or vinyl, use a carbide-tipped blade or a specialized cutting tool designed for those materials.
Fence Pliers
These practical tools combine reliable cutting and hammering functions in one device; they are vital for chain-link fencing installations. Electric fence pliers are now available for upscale installations, ensuring both accuracy and ease of use.
String Line and Stakes
To achieve a straight fence line, one must make use of tough string and stakes. New-age solutions comprise of adjustable string tensioners that limit sagging and thus enhance marking activity's accuracy.
Concrete Mixer or Mixing Tools
To prevent fence posts from being easily uprooted, their bases should be set in concrete. For small-area fencing, you can use hand-mixed tools such as hoes and buckets, but a portable concrete mixer is recommended for large projects. During recent tests, small electric mixers were reported to pour up to 2–3 cubic feet of concrete in a single batch, significantly reducing total time.
Safety Equipment
Injury prevention during installation is a key priority. The most basic safety equipment includes gloves, safety goggles, hearing protection when using power tools, and steel-toe boots. Some co-opted options like noise-cancellation earmuffs and ergonomic gloves provide safety and comfort during long projects.
Staple Gun or Nail Gun
A pneumatic or electric nail gun can significantly speed up quick panel installation. Similarly, staple guns are useful for securing wire mesh or other soft materials to wooden posts or frames.
Hammer and Mallet
A strong hammer is essential for driving nails and stakes, while a rubber mallet can be used to fit components without damaging them.
Using these basic tools, along with modern technologies such as precision laser levels, gas-powered augers, and durable yet lightweight materials, one can achieve a fence installation that not only looks good but also lasts. Proper planning and selecting the right equipment will make the job smoother and deliver a professional finish.
Materials Needed for Building a Privacy Fence
When building a durable, attractive privacy fence, selecting the right materials is essential. Below is a detailed list of materials, their purposes, and additional information, which is typically required when building a fence.
Fence Panels or Pickets
The fence consists mainly of these elements. Before applying the finishing touches, you can choose from wood, vinyl, composite, and metal.
Wood: The most common kinds of wood used for this purpose are cedar and pressure-treated pine, which are both aesthetically pleasing and long-lasting. The average price goes from $1 to $5 per linear foot.
Vinyl: Vinyl panels, which are very durable and require little maintenance, cost about $20 to $40 per linear foot.
Fence Posts
Fence posts hold your fence upright. You can choose wood, metal, or vinyl posts, but treating them to withstand the elements is essential.
To build a strong fence, use 4x4 or steel posts. Make sure they are at least 2 feet underground for support.
Concrete Mix
Concrete's purpose is to hold the posts in the ground securely. The price for a 50-pound bag of concrete mix is around $5. Depending on soil type, plan to use 1 to 2 bags per post.
Gravel
Gravel is layered in the holes to improve drainage and support the walls. It may cost about $3 to $7 per bag of crushed gravel.
Fasteners and Hardware
Material selected governs your selection of fasteners. For instance, we offer screws, nails, brackets, and clips for fence panels, along with the corresponding materials, as needed.
Exterior wood screws: These are rust-resistant and sold for about $5 per box with 50 screws.
Galvanized nails or brackets: These are of the same quality as those used in indoor applications.
Gate Kit
A pre-assembled gate kit or parts such as hinges, latch, and frame supports would be necessary if your privacy fence had a gate included. The prices of the gate ranges from $50 to $300 depending on the size and materials.
Stain, Paint, or Sealant
Wooden fences should be protected from the elements with a weather-resistant stain or sealant. The average price is $20 to $50 per gallon which will cover an area of around 200-300 sq. ft.
Leveling Tools
Even if tools such as a level or string line are not considered materials, they still play a crucial role in alignment and installation.
Once you have gathered all the materials and considered your budget, you will be able to have a beautiful privacy fence that not only serves its purpose but also adds elegance to your property.
Choosing the Right Type of Fence
The perfect type of fence for your home is determined by a combination of factors such as: the budget, the privacy and security desired, the looks and the life of materials. For a better choice, here is a list of the most popular types of fences along with their specifications:
Wooden Fences
Wooden fences are a traditional option that everyone loves, mainly for their natural appearance and ease of customization. Creation is open to a range of styles, from picket to lattice to privacy fencing. The average price for wooden fence installation is $17 to $45 per linear foot, with variations based on the wood species, the more expensive cedar or the cheaper pressure-treated pine. To continue, the cleaning and applying of chemicals such as oils and sealers are required for wooden fences so as not to rot and thus prolong their life.
Vinyl Fences
Vinyl fences are highly praised for their durability and minimal upkeep. These fences can withstand any weather, the attacks of insects and even that of rot, thus they will just need a light cleaning from time to time. The price of fence installation ranges from $25 to $40 per linear foot. Moreover, there is a very good chance that these fences would be not only find in various condo styles but also in different colors, and, hence, they are an attractive option for modern housing.
Chain-Link Fences
Chain-link fences vary pretty much in terms of price, thus, they are often considered the most economical option. At the same time, they are practical for securing big areas and thus are widely used. Chain-link fences do provide a degree of security, but not privacy, unless privacy slats are installed. The installation costs for a standard chain-link fence are generally around $10 to $20 per linear foot, hence, it is one of the most affordable options available in the market.
Aluminum Fences
Aluminum fencing is the high-end metal option because it has a beautiful look and it is not prone to rust. The fencing around the gardens or swimming pools for aesthetic purposes is its most common use, hence aluminum fences offer a small degree of security while not blocking the view. The installation averages from $20 to $30 per linear foot.
Composite Fences
Composite fences are a hybrid product coming from the combination of wood fibers and plastic. The product offers both aesthetic and functional advantages: it looks like wood but has the properties of a synthetic material. Though the materials are also very durable, they are treated like everything else and thus the initial installation cost is also higher than that of the previous categories. The prices range from $25 to $45 per linear foot. Nonetheless, one will have to factor in the savings from the low maintenance.
Wrought Iron Fences
Wrought iron fences come with a very refined and elegant look, and thus they never go out of style. They are extremely strong and durable, and their lifespan can easily reach several decades if proper maintenance is carried out. This includes rust-prevention painting, which should be done periodically. On average, the installation cost of a wrought iron fence is between $30 and $50 per linear foot, and hence this option is considered premium.
Bamboo Fences
Bamboo fences, which can be very helpful for zoning or tropical-style landscaping, are environmentally friendly. Although not as durable as other materials, bamboo offers natural aesthetics at a cost of around $12 to $20 per linear foot.
Electric or Invisible Fences
The electric fences are ideal for pet owners who want to keep their animals in the yard without a physical barrier. This type of fence uses underground wires and a collar compatible with the wire; the cost of a standard setup for an average-sized yard is approximately $1,000 to $1,500.
Before selecting a fence type, it is good practice to check local zoning regulations and HOA rules, and to understand the weather and soil conditions in your area. If you want to make use of your fence for the long term and at the same time not spending too much on it, then balancing the cost with the function and the beauty will help you do this.
Step-by-Step Guide to Building a Fence
Erecting a fence requires careful planning, selecting the right materials, and meticulous workmanship to achieve a sturdy, long-lasting, and attractive finish. Use these guidelines for a fencing project that won't fail:
1. Plan and Investigate
Establish Your Fence's Purpose: Settle the major goal for the fence—privacy, security, containment of pets, or simply an ornamentation. This will help you choose the appropriate design and material.
Investigate Local Regulations: Consider zoning regulations, HOA restrictions, and building codes. Some regions may impose limits on the fence's height, design, or placement.
Identify Property Lines: Either use a property survey or discuss with your neighbors to get a clear idea of the property line and avoid any dispute.
2. Select the Right Material
Consider materials in relation to strength, beauty, and upkeep:
Wood: Affordable and timeless but also needs constant care and painting. Prices can vary from $12 to $30 per linear foot.
Vinyl: Very durable and requires no maintenance at all, costs about $20 to $40 per linear foot.
Metal (Aluminum, Wrought Iron): Non-rusting (aluminum) and elegant but pricey, costs $25 to $60 per linear foot.
Chain Link: The cheapest and most practical option; works best for confinement. Pricing is $10 to $20 per linear foot.
3. Measure and Compute Materials
A measuring tape is used to measure the fence perimeter.
Divide the total length by the width of the selected fence panels to determine the number of panels required.
Gates, posts, screws, and anchoring material should also be included in your computations.
4. Collect Tools and Supplies
You always need a post hole digger, a level, a hammer, a saw, a measuring tape, and a drill as a minimum.
The supplies will vary by fence type and may include concrete for post anchorage and weatherproof coatings for wooden fences.
5. Prepare the Site
Position the Posts: Mark the posts' positions with stakes and string.
Clear the Area: Remove all rocks, roots, or debris that could hinder the fence installation.
Check Before Cutting: Contact utility companies to confirm there are no underground services where you plan to dig.
6. Fix the Fence Posts
Make holes one-third the length of the post plus 6 inches deep, that is, at least 2 to 3 feet deep, for security purposes.
Apply quick-dry concrete to secure the posts, ensuring they are straight and in line. Allow the concrete to harden for 24 to 48 hours.
7. Fix Panels or Build Rails
Depending on the fence type attach either pre-made panels or slats to the posts or rails and slats manually.
Use a level to ensure the fence height is accurate and the fence is well-positioned.
8. Install Gates
Make sure to use hinges when installing gates, and check the smoothness of their swing. Also, try to see if there is a proper gap between the gate and the posts.
9. Finishing Touches
On wooden fences apply a sealant or paint to increase life.
On other materials check for sturdiness and file down any sharp points.
10. Review and Preserve
Your fence should be inspected at regular intervals for signs of wear such as loose panels, rust, or cracks. Repair them promptly to extend the life of your fence.
The yearly average nationwide maintenance cost of a fence is around $150 to $400, depending on material and extent of repair.
This comprehensive guide, coupled with the planning process, will help build a fence that is not only functional but also aesthetically pleasing.
Measuring and Marking the Area
The success of a fence installation is heavily dependent on accurate measuring and marking. To start, determine your property lines by checking property records or hiring a surveyor to conduct a site survey. The latter option will ensure that the fence remains within the legal limits. Next, measure the perimeter of the property to determine the total length of fencing material you'll need. It is also a good idea to determine the number of posts needed, remembering that fence posts are typically set 6 to 8 feet apart, depending on the material and design.
Next, you can use gardens stakes and a string to outline the fence layout, so that you get perfect straight lines and corners that are properly aligned. If your layout is curved or irregular, think about using a garden hose or flexible line to guide you. Laser measuring tools or GPS-based mapping apps can help obtain more accurate measurements when dealing with uneven ground. Additionally, it would be a good idea to mark any mounds on the land so they are taken into account during installation. Always call local locator services before digging to identify where underground utilities are located, so you do not incur additional costs for damage or face power outages. All these factors together will contribute to a smoother installation and less chance of making mistakes.
Setting the Fence Posts
The fence needs to be well established, with posts placed correctly, which goes a long way toward improving the fence. The first thing to do is to have holes dug that are either one-third or one-half the length of the fence, depending upon the height of the wall. For example, in the case of a 6-feet high fence, the holes would have to go deep down at least 2 feet. In case you want to have constant depth and width, you can use a post hole digger or an auger and the usual width would be around 8 to 12 inches but it totally depends on the size of your post.
Checking the posts' level and plumb is another consideration. Post level can be used to see whether the posts are aligned, and they can still be braced with the help of scrap wood to keep them still throughout dry setting of the concrete. The hole is then filled with a quick-setting concrete mix which consists of about 1 part concrete to 2 parts gravel. The dry mix is poured around the post, and then water is added per the manufacturer's directions. Most concrete sets in 20 to 40 minutes, but it is best to wait at least 24 hours so the concrete has fully cured before attaching the fence panels.
If you live in such an area that suffers from poor drainage or frost, a layer of gravel might be added to the bottom of the hole to further aid in water pooling reduction, and hence no frost will be heaved. Experts say, using gravel prolongs the life of fence posts by providing proper drainage which is especially important for wooden ones. Additionally, pressure-treated wood and metal posts are always a good choice for durability.
If these steps are really followed, rightly then there would be no wear and tear of environmental factors on the fence post's supporting structure for many years. The measurement must be very accurate, the tools must be suitable, and attention to detail is essential if a fence installation is to be both secure and beautiful.
Installing the Fence Panels
Installing the fence panels is essential to ensure stability and visual unity. The first step is to place the first panel in between the two posts. It is essential to use a level to check the panel is upright and horizontally straight for the best life and alignment. The panels should be attached to the posts using either galvanized screws or nails, which are treated to resist rust and corrosion. The most recent recommendations say that the best method of fastening the panels is spacing the screws at intervals of 6-8 inches which provides better support and lowers the risk of warping over time.
To allow the wood to move naturally, leave a small gap of about 1/8 inch between boards when attaching the panels. If ready-made panels are used, ensure the edges are flush with the posts on both sides. For vinyl or composite fencing, the manufacturers might provide special installation hardware and to the installations and hardware respective guidelines should be followed.
Research on the durability of fencing materials finds that applying a weather-resistant coating to wood fencing can increase its lifespan by up to 15%. Moreover, nowadays the fencing experts are advising to set the fence panels at least 2 inches above the ground to lessen the moisture contact and thus decay caused by the latter and damage are minimized.
Repeat the same method for each subsequent panel while consistently monitoring the right alignment and spacing between panels. Undoubtedly, taking care of each panel during installation will not only make the fence look beautiful but also help it withstand various weather conditions more effectively.
Attaching Pickets to the Rails
The process of firmly attaching the pickets to the rails is one of the most important steps in constructing the fence, ensuring it is both strong and aesthetically pleasing. First pick good quality that is the most suitable for the design and use of your fence pickets; e.g., the cedar and treated pine are really good choices because of their durability against the elements and insects. The latest industry standards recommend that a small gap of about 1/8 to 1/4-inch should be left between the pickets for the wood to expand naturally as the moisture content and temperature changes.
Position the first picket in line with the rail edge, and use a level to verify it is perfectly vertical. Use galvanized or stainless-steel screws to attach it since they are the ones that resist rust and corrosion thus the fence's life span is increased. In contrast to former times, screws are nowadays preferred by many builders over nails as they provide superior holding power and are also less likely to become loose. For perfect results, use a pair of screws for each rail, placed evenly to prevent the picket from bending due to time.
Make sure to measure the gap between pickets with spacer blocks as you go along to maintain the same spacing all through the line of fences. Furthermore, studies prove that uniform gaps not only beautify the fence but also allow better airflow which is an advantage in the case of places with high humidity. After you have fixed all the pickets, check the fence for alignment and correct any misalignment. These meticulous steps will produce a fence that is robust, durable, and aesthetically pleasing, meeting functional standards.
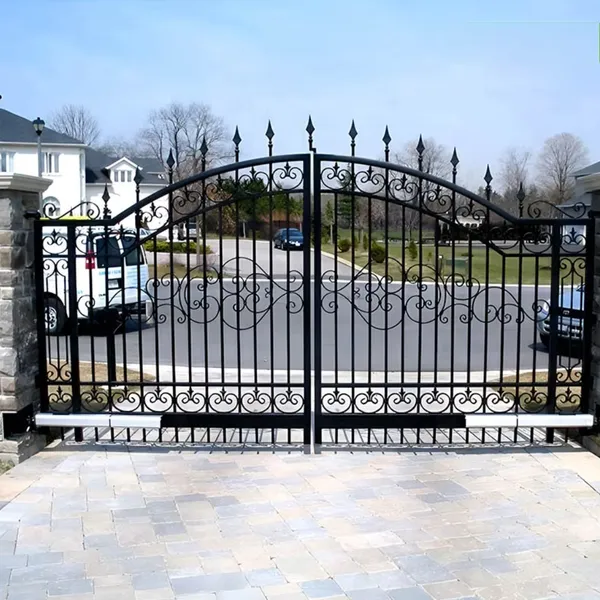
Installing the Gate
Gate installation is a critical component of the fence installation if you want your fence to be both functional and secure. First, think about a gate that will be made of the same material and style as your fence so it will look like a part of the fence. Recent studies show that the standard width of a gate is between 3 and 6 feet, with most residential gates around 4 feet wide. This is enough space for people, bicycles, or even small garden tools.
Gate Posts Preparation: The gate posts should be made of strong material, as they will bear the weight and be subjected to daily use. It is advisable to use 4x4 inches or larger posts and to bury them in concrete at least 24 inches below the surface to provide a stable support.
Measurement and Marking: Measure the width of your gate and note where your hinges and latch will go. Standard practice for hinge placement is to install one hinge at the top and another approximately 6-8 inches from the bottom of the gate to ensure even weight distribution.
Hinge Installation: The first step is to secure the hinges to the gate frame, then attach them to the post. Industry recommends using heavy-duty steel hinges, as they can withstand the harsh conditions a gate is exposed to, thereby prolonging its service life.
Latch Installation: Install the latch at a height of 40-48 inches above the ground so it is easy to reach while remaining secure for small children or pets.
Alignment and Adjustments: After you have finished installing the gate, check that it swings open and closed without dragging on the ground. Use a level to verify it is straight, and make any required adjustments. If larger gates are slowly sagging with time, placing a stopper or guide at the bottom may help control the situation.
If you take these steps and use quality materials, you will end up with a gate that is efficient and dependable, and that adds more value to your fence. Additionally, many modern gates come with high-tech features such as auto-lock systems and weather-resistant finishes, which can be considered for added convenience.
Staining the Fence for Longevity
In order to keep my fence for a long time, the first thing I do is to pick a top-notch stain that provides the fence with a barrier against the elements such as moisture, sunlight and mildew. The next step is to make the surface clean and free of dirt, rubbish, and any old finish, so the stain can penetrate well. The fence is then dried after which I apply the stain with a brush or sprayer in a very thin layer all over the wall, section by section so as not to cause any unevenness in the coverage. To make it last even longer, I can put on another coat to ensure every part is well-protected. By constantly checking and re-staining every couple of years, not only is the fence's look maintained, but also its lifespan is increased.
Common Mistakes to Avoid
Surface preparation is skipped.
Inadequate cleaning and surface preparation may cause the stain to be absorbed unevenly. The stain will not adhere properly due to dirt, old finishes, or moisture, thereby reducing its quality in both appearance and lifespan.
Damp surface staining.
Staining a wet fence will lead to poor absorption and, consequently, the formation of patches. It is always essential to check that the wood is thoroughly dried before proceeding with the staining process.
Selecting the Wrong Stain
A stain that does not match the wood type or is too harsh for the weather can lead to early discoloration, flaking, or shrinkage. It is very important to select a stain that is appropriate for the specific fence material and the local climate.
Stain Application in Excess
The application of stain in excess can lead to the creation of a finish that is sticky and uneven and still has a long drying time. The issue can be avoided by applying thin, uniform coats and the result will be smoother and more durable.
Ignoring Maintenance
Some homeowners do not realize the need for the periodic inspection and reapplication as a regular part of their maintenance. Failing to maintain the stain every few years can lead to fading, weathering, and, eventually, wood damage.
Errors in Measuring and Marking
Accurate measurements and markings are very important for every project involving wood or construction. Mistakes at this point can cause big delays, consume materials, and incur extra costs. Recent statistics indicate that incorrect measurements and markings account for 50% of woodworking mistakes, underscoring the need for precision at this phase.
The most common mistakes are not using trusted measuring tools, not checking the measurements again, or not marking the surfaces properly which could lead to the parts locked in a fit that is not correct during assembly. A tiny error of 1/16 of an inch for instance can produce gaps, uneven structures, or misaligned parts.
Experts recommend using high-quality measuring tools, such as tape measures, rulers, and squares with precise graduations, to reduce errors. Moreover, adopting the "measure twice, cut once" method significantly reduces the risk of errors. For marking, you might want to use stuff like fine-tip pencils or marking knives, as they can deliver more precise and thinner marks than wider strikes can.
Digital devices such as laser measuring instruments also improve accuracy, especially on large projects where manual tools may be less efficient. These devices typically have a ±1/32-inch margin of error, ensuring higher accuracy. By combining the traditional approach with a modern method and adhering to a rigorous process, the likelihood of errors in measurements and markings can be significantly reduced.
Mistakes in Setting Posts
One of the most common errors made when constructing a building is to place the posts in an incorrect way. This mistake may affect the building's structural integrity and even its entire lifespan. One of the most common problems is not digging the post holes deep enough. Industry standards generally specify that the depth of the post hole should be at least one-third to one-half the height of the post above ground, and a minimum of 2 feet deep. If the holes are not deep enough, the related problems may include leaning of the posts or even their falling down in case of application of some pressure. This is especially true for areas with high winds or soft soils.
Another common mistake is not filling the hole properly and tamping it down. If the fill is loose or not packed well, it can lead to the posts changing position in time. It is recommended that the backfill be a gravel-concrete mixture, as it provides the most stable and durable foundation. The construction guidelines state that if a base of at least 6 inches of gravel for drainage is used before the pouring of concrete, this can greatly prolong the life of the post as water pool which leads to decay will be prevented.
Moreover, incorrect post location is a significant and frequently overlooked risk. With a laser level or string line, the alignment can be checked and no costly adjustments will be needed later in the work. A poll conducted by the American Fence Association found that nearly 20% of fencing failures are caused by misaligned posts. This clearly shows how vital the initial setup is.
Lastly, neglecting the soil type is another error that often goes unnoticed. To illustrate, heavy clay soil may necessitate drilling deeper holes while sandy soil may be better off with wider holes to facilitate even distribution of weight. When the above-mentioned steps are taken, and proper instruments are used, a majority of the issues linked to post setting will not occur thus securing a sound project in the end.
Neglecting Local Building Codes
In construction projects, and specifically in setting up posts, one of the most serious mistakes is ignoring the local building codes. The main purpose of these codes is to provide safety, structural integrity, and compliance with environmental regulations. For instance, there are strict rules governing the minimum depth of post holes, which may vary by region and local frost line. Failure to comply with these regulations can result in substantial fines, delays, or even the need to rebuild the entire structure.
As per data taken from recent searches, many towns in the U. S. require, for example, that post holes be at least 30 to 42 inches deep in areas with heavy frost. Load-bearing capacities of the soil often dictate the specific requirements for materials and spacing between posts. Moreover, up to 25% of building inspections that were not approved have been attributed to building plans not meeting local codes, thus, this issue is quite common especially in foundations and support.
Consultation of local guidelines before project commencement is a must to ensure compliance. Generally, the websites of municipal or county authorities have detailed documents explaining these regulations, and some even provide online tools that allow you to check the requirements based on your location. Besides, when following the local building codes through extensive research you cut off any unexpected expenses; in addition to that, you save people’s lives, and the functionality of your project is guaranteed.
Frequently Asked Questions (FAQ)
How do I mark the layout and check my property lines before I install a fence?
Confirm the property lines by locating them first with a survey or property deed. Then, call your local utility company to mark the utility lines, so you don't hit them while digging. Use stakes and string to mark the layout and outline the fence line and gate locations. Also, measuring the distance and spacing between posts and flagging hole locations will make the fence installation project smoother, as well as help you decide if you need a building permit for your new fence project.
What size post hole should I dig for a wood fence and how deep should posts be set?
For wood fences, generally, digging post holes about one-third the height of the finished fence is common practice which is basically 2 to 3 feet for a 6-foot fence. Besides, widen the hole to three times the diameter of the post. Take a post hole digger or auger to make the spots and put a few inches of gravel at the bottom for drainage before adding mixing concrete. Ensure that the pole is perfectly vertical and employ a post level to correctly set a post; spacing and post depth are what allows the fence to stay up during the harshest weather and even after a long time.
How do I set a post with concrete mix so posts are plumb and posts properly anchored?
When you put the post in the hole, check it with a level to confirm vertical. That means you're plumb and then pour concrete mix around the post. It can be either fast-setting or regular mixing. Just follow the dry mix or wet mix instructions. Tamping and temporarily bracing the post until the concrete cures will one post holds steady. Use a post level to make sure the post stays plumb while the concrete sets. If you are in a hurry, using fast-setting concrete or dry mix with water can speed up the process.
What are recommended post spacing and fence rails layout for a stable fence rails system?
Most fences have the typical post spacing of 6 to 8 feet depending on the style of the fence materials—a wood fence panel often uses 8 feet spacing while the heavier gates or chain-link sections may use closer spacing. Ensure horizontal fence rails are attached between posts and level to support boards or panels. Measure the distance and plan rail placement in your fence plans so fence rails align with post spacing and gate locations.
Can I build a wood fence as a DIY privacy fence—what tools and steps should I follow?
Definitely, you may inquire to learn how to build a DIY privacy fence by following a clear set of steps: laying out the site, digging the holes with a post hole digger or auger, setting posts with concrete mix, attaching fence rails and boards, and installing gate hardware. Adhere to the "building a wood fence" procedure & plans, which consist of 8 steps, or a "build-a-fence-in-8" approach. Basic tools are a level, post level, cordless drill with deck screws, and a post to help holders position posts. Verify local codes and any building permit requirements before starting to work on your fence project.
How do I install gate posts and attach the gate so gates operate smoothly?
Gate posts should be set deeper and a stronger concrete footing used than standard line posts because of the stress gate posts receive. Ensure that your gate post is vertical and secured while the concrete hardens, afterwards attach the hinges and hardware for the gate according to the instructions provided by the manufacturer. Heavy-duty hinges should be used for large gates, and you might want to set two posts or a reinforced frame for support. Also, measure the gate locations and make sure the post spacing allows for the width and swing of the gate, then attach the gate so that it can not sag and will work smoothly without any trouble.
Do I need to worry about utility lines and building permits when I dig the holes for a new fence?
Yes—always inform utility companies before digging; this will prevent any damage to their lines. New fences, especially over a certain height or those affecting property lines and sidewalks, require permits in many municipalities. Familiarize yourself with local regulations regarding fencing projects, obtain the necessary permits, and mark the layout and hole locations to comply with the regulations and avoid expensive mistakes.
Recently Posted
-
Building a Security Fence: Your Guide to High-Security Solutions
February 5, 2026The security fence functions as the primary defense system of your commercial property, industrial site, and private estate becaus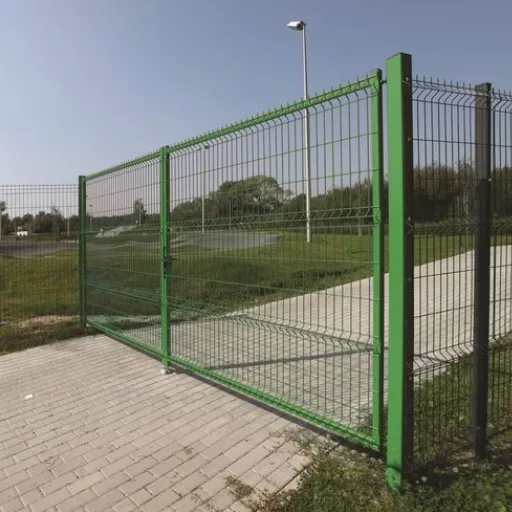 Read More
 -
How to Build a Security Fence: A Comprehensive Guide to Installing Chain Link Security Fences
February 4, 2026Constructing a security fence is an effective way to protect your property, define its boundaries, and enhance your privacy. The v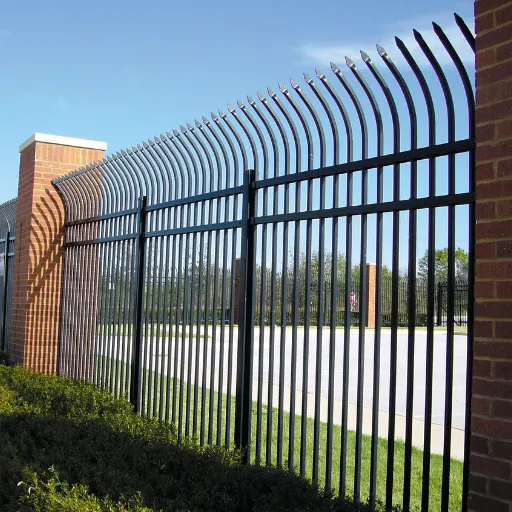 Read More
 -
Iron Yard Fence: The Ultimate Guide to Wrought Iron Fencing for Your Garden
February 3, 2026The design of a garden fence goes beyond establishing property borders because it serves two main purposes by enhancing the visual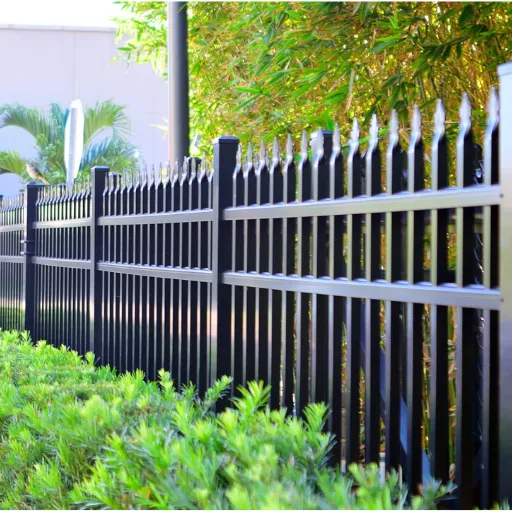 Read More
 -
Cast Iron Garden Fence: The Ultimate Guide to Durable and Decorative Garden Edging
February 2, 2026The cast iron garden fence functions as a boundary that creates an everlasting combination of practical use and aesthetic beauty t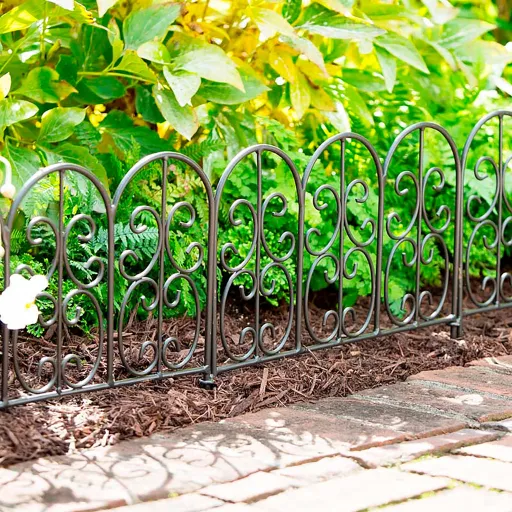 Read More

Contact Us
Recommended Products
-
 Durable Imitation Bamboo Fence for High-Traffic Public SpacesNegotiableMOQ: 50 Square Meters
 -
Customizable Imitation Bamboo Fence With On-Site Measurement ServiceNegotiableMOQ: 50 Square Meters
-
Modular Imitation Bamboo Fence Panels for Quick InstallationNegotiableMOQ: 50 Square Meters
-
Imitation Bamboo Privacy Fence With Reinforced Aluminum BaseNegotiableMOQ: 50 Square Meters
-
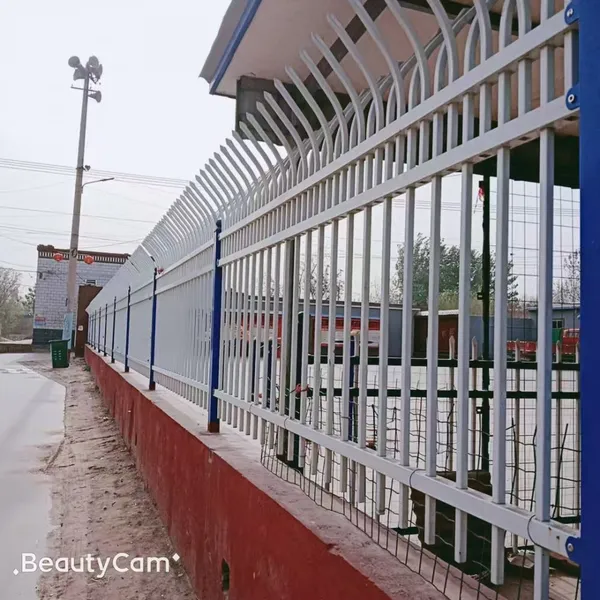
Commercial Grade Villa Fence for Real Estate Developments and Hotel Perimeter ApplicationsNegotiableMOQ: 10 Sets

-
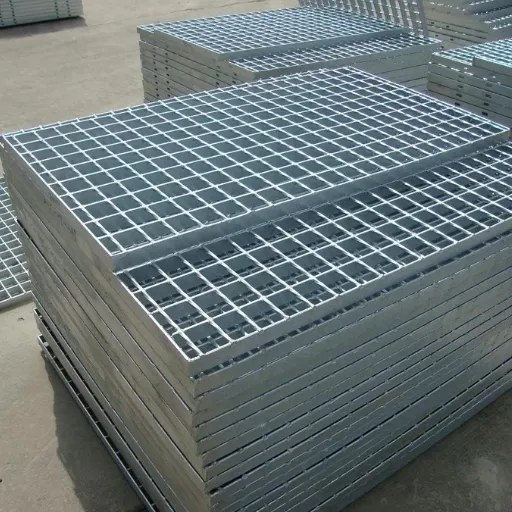
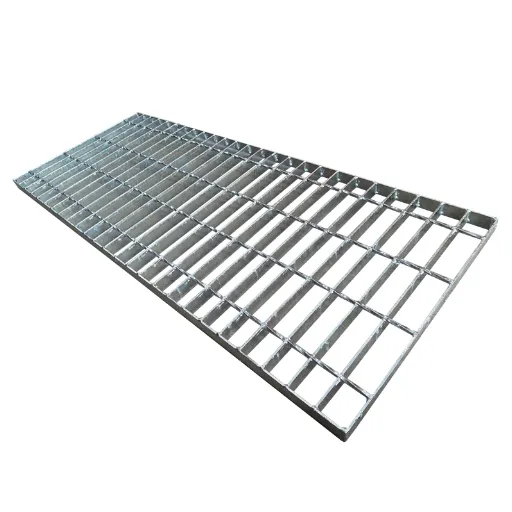
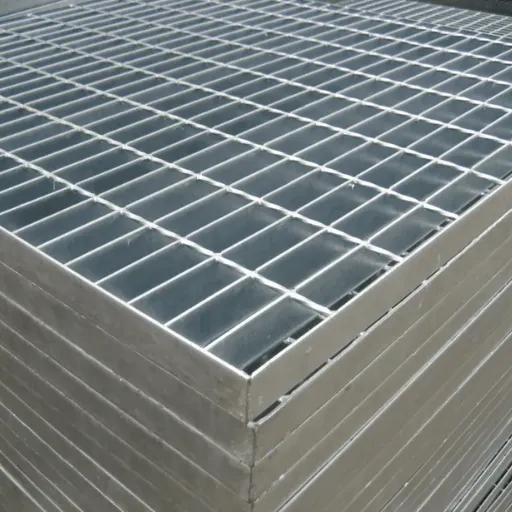
Industrial Steel Grating Solutions for Oil and Gas Platforms, Compatible With Harsh ConditionsNegotiableMOQ: 10 Pieces
-
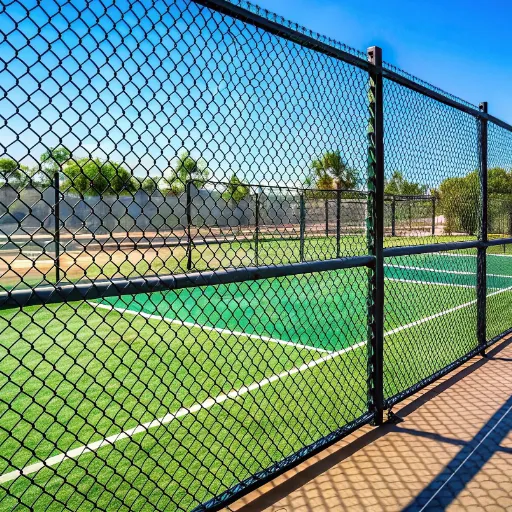
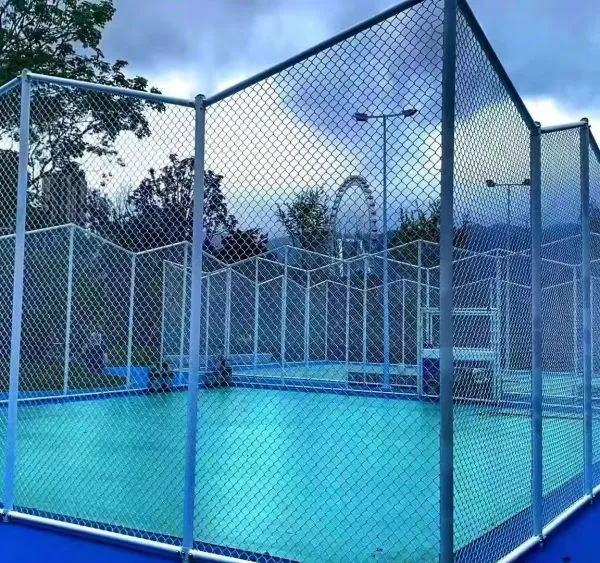
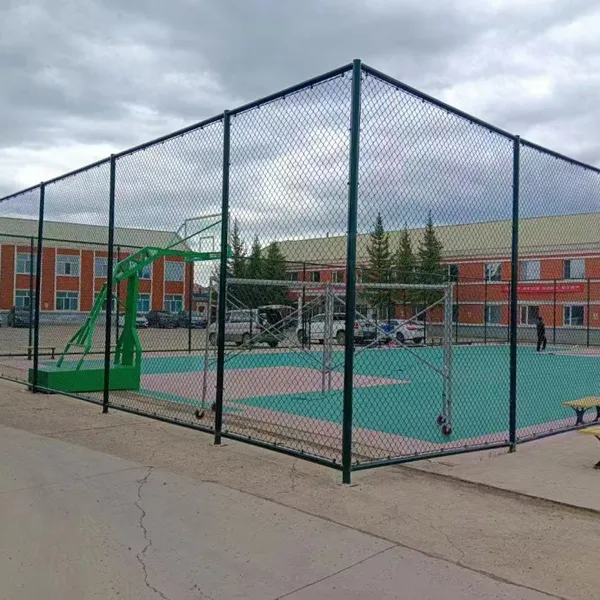
Basketball Court Fence 4M Height, Galvanized Steel Chain Link Mesh for Outdoor Sports Field PerimeterNegotiableMOQ: 50 Square Meters
-
Chain Link Basketball Court Fence Offering Anti-Rust Protection and Long-Term PerformanceNegotiableMOQ: 50 Square Meters
-
European Style Villa Fence Concrete Base Installation Courtyard Boundary WallNegotiableMOQ: 100 Square Meters
-
Galvanized Steel Villa Fence With Powder Coating for Superior Corrosion ResistanceNegotiableMOQ: 100 Square Meters
-
Powder-Coated Basketball Court Fencing With Weatherproof Finish for Long-Term Outdoor ApplicationNegotiableMOQ: 100 Square Meters
-
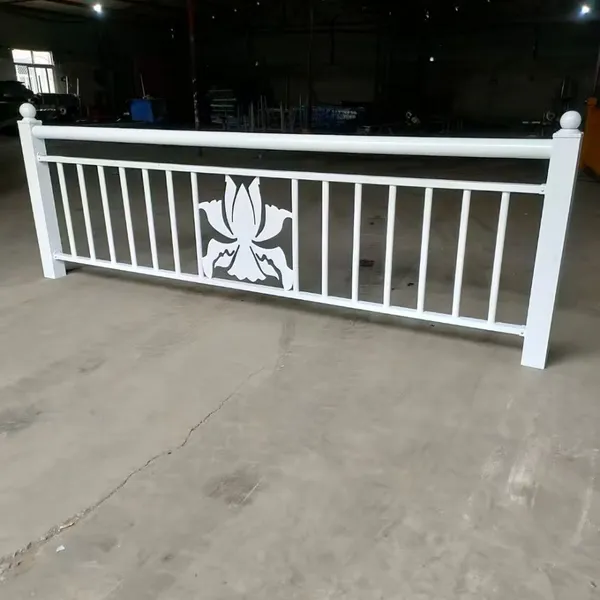
Powder Coated Wrought Iron Main Gate and Garden Fence for HousesNegotiableMOQ: 100 Square Meters
-
Elevate Your Garden With an Artistic Wrought Iron Garden Fence | Uniting Security & EleganceNegotiableMOQ: 100 Square Meters
-
Low-Maintenance Wrought Iron Garden Fence | Durable Powder-Coated Steel PicketsNegotiableMOQ: 100 Square Meters
-
Heavy-Duty Villa Fence: 10 Gauge Steel Construction With Powder Coating for DurabilityNegotiableMOQ: 10 Sets

-
Anti-Slip Steel Grating Panels for Enhanced Safety in Wet and Slippery Work AreasNegotiableMOQ: 10 Pieces
-
Steel Grating for Stair Treads and Catwalks in Commercial and Factory BuildingsNegotiableMOQ: 10 Pieces
-
High-Security Villa Fence With Lockable Gates and Weather-Resistant Finish for Home ProtectionNegotiableMOQ: 10 Sets
-
Galvanized Steel Basketball Enclosure Netting / Ball Containment System With Frame for Outdoor CourtsNegotiableMOQ: 50 Square Meters
-
Vinyl Coated Chain Link Fencing for Basketball, Pickleball & Tennis CourtsNegotiableMOQ: 500 Square Meters