
Installing a Fence: DIY Guide & Tips to Install a Fence Easier
Building a fence can be a challenging task, but it offers the owner several functional and aesthetic advantages, especially for those who participate in the process. Many people like to garden or do construction work at the border lines, but some feel such an urge to invest or rather beautify such a home for, say, an upscale fencing's presence. Here are some ideas and methods I will discuss with you that, given your newness to this type of fencing and a minimal budget, will still make it possible for you to take on the fencing project in your backyard. Some of the in-depth discussions will center around how to map your project, which materials to use, and how to fence in the end. This constitutes the end of the sentence, and solving other problems very effectively as well .
Introduction to Fence Installation
Installing a fence offers various benefits beyond improved privacy and security. A fence marks the territory, ensures there is no intrusion, and keeps little ones and pets from wandering off. Besides, it could be designed so that no sound escapes while also enhancing the property's visual appeal. It is vital to define one's needs and dreams regarding fences so as to clarify the materials, ideas and skills to be used in the fencing process.
The Importance of Installing a Fence
The benefits of installing a fence are many, spanning both functional and aesthetic requirements. Five main advantages that can be interesting to you are presented below:
Increased Seclusion
With a fence, a garden or house can be made invisible, as it will be totally hidden from the view of the neighbors and the passers-by on the road. This additional seclusion gives you the right to have the outdoor areas all to yourself and not to be disturbed.
Improved Security
With a robust fence, the intruder would think twice before making a move, and the property would benefit from an additional layer of security. Moreover, the fence keeps children and dogs in and prevents them from wandering outside accidentally.
Increase in Property Value
More often than not, a well-designed, high-quality fence can help the house sell for a higher price. A fence not only enhances the property's overall beauty but can also attract potential buyers' attention more easily.
Clear Boundary Lines
Fencing states unambiguous property lines which significantly decreases the chances of having boundary disputes with neighbors. This unambiguity makes it very obvious to all where one’s space ends and the other’s begins.
Noise Reduction
Wood and vinyl fences are among the types that do a good job of reducing noise from adjacent roads or busy streets. This incredibly helps to create a more peaceful and pleasant environment for you and your family.
Benefits of Building a Fence
Enhanced Privacy
A well-built fence will create a feeling of seclusion and at the same time, it will block the vision of the neighbors or people walking by the yard. It will also allow you to arrange activities in the open without worrying about others seeing you, giving you a safe, comfortable area for relaxation.
Improved Security
Fences are effective deterrents against trespassers and possible intruders. A strong fence around the house can substantially boost the entire home's security, thereby protecting the family and valuables from any unauthorized access.
Property Value Increase
Fences are a feature that most of the home buyers consider as a positive one thus leading to a higher property value. Along with the fence, a properly maintained and good-looking one adds to the aesthetic value of your property, which further makes your property more saleable.
Defined Boundaries
Fences are the most reliable signs of property lines, and thus, fewer disputes will arise among the neighbors about the land borders. This advantage is more significant in areas where houses are densely populated or too close together.
Controlled Access
Putting up a fence lets you decide where the entrances to your property will be, which is really helpful for families with young children or pets. Gates and locks offer even more control, allowing you to oversee the comings and goings of people safely.
Overview of the Fence Installation Process
Building a fence is a systematic activity that requires extensive planning and execution with precision. The entire operation is described thoroughly, taking into account the latest data and information from industry sources.
Planning and permits
To begin with, the installation of the fence cannot start until its layout and design are planned. The first steps in this procedure are taking perimeter measurements, choosing the type of fencing material, and determining the property lines. The new regulation requires most municipalities to grant permits for fence installations, especially when the fence height exceeds a specified limit (usually 6 feet). A 2023 study reveals that one of the leading causes of project delays and fines is the failure to obtain the necessary permits.
Material selection
Making a sound, lasting decision about the material to be used to hide defects is another factor. Wood, vinyl, aluminum, and composites are the most common materials. Latest market research shows that vinyl fencing is the most widely used material, due to its durability and very low maintenance, accounting for about 30% of total U.S. residential fence sales in 2022.
Marking and preparing the area
When the fence’s position, legal issues are settled, and the posts for either professionals or DIYers, the marking of the wall is to be done and also the site is to be sure to be free of underground utilities or obstacles. A recent study emphasizes the need for utility companies to conduct a "Call Before You Dig" inspection to prevent severe accidents, as over 100,000 damage claims are reported every year due to digging-related utility problems in North America.
Post installation
Putting in the posts that are going to be concrete in is what mainly keeps the fence standing. For posts that are completely buried, it is recommended to have one-third of their height covered with soil for better results. Weather conditions can affect the recommended depths. For instance, areas that experience frequent frost may require deeper post holes to prevent heaving.
Attaching panels or rails
After the posts have been set and secured, the fence panels or rails are then installed. This varies depending on the fence's material and design. For instance, with wooden fences, individual planks are often nailed or screwed, whereas vinyl or aluminum fences come in preassembled panels that can be easily installed.
Finishing touches
After the main installation is complete, the gates are fitted, and the necessary hardware is added. Applying a weather-resistant stain or paint to wood not only increases longevity but also enhances its aesthetics. The final step to complete the vinyl or aluminum project may be a quick cleaning.
Costs and time estimates
The average cost of fence installation in the USA is around $1,500 to $5,000, depending on the material and length of the fence. Professional installation costs about $15 to $50 per linear foot. Although DIY will cut costs, industry data indicate that hiring professionals minimizes the risk of errors and subsequent maintenance problems, which aligns with 2023 statistics showing high customer satisfaction rates in contractor-led projects.
When the entire process is accompanied by professional advice and the right materials, the fences will be of premium quality, the installation will be seamless, and the homeowners will take pleasure in the work.
Choosing the Right Type of Fence

Selecting the appropriate fencing that meets all your requirements is a matter of balancing the visual, functional, and price-to-performance aspects. According to a market survey, consumers' opinions on fencing attributes such as privacy, security, and property value have shifted dramatically, with privacy and security now the most important. Below, you can find the fence types that dominated the market in 2023 with their main characteristics and average prices:
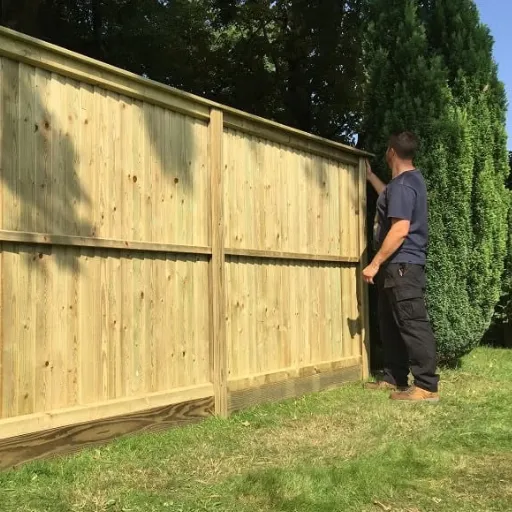
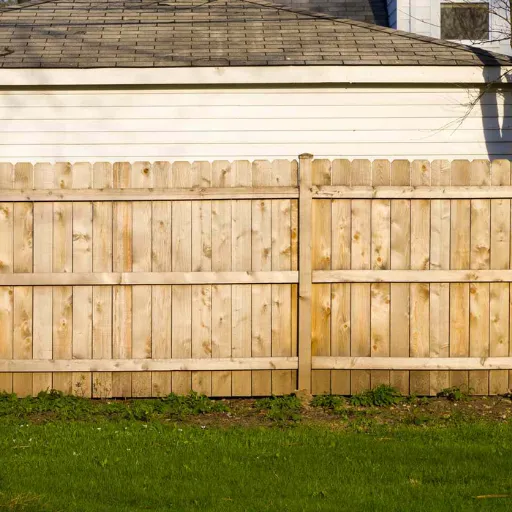
Wood Fences
Offering a natural look and versatility, wood fences remain the top choice for many homeowners. They are predominantly made either for privacy or to enhance the house's beauty. Installing a wooden fence can cost $14 to $31 per linear foot, depending on the type of wood (cedar, pine, or redwood) and the location. Even under the most favorable conditions, such as regular staining or sealing, a wood fence can last at most 20 years, though the average is about 15.
Vinyl Fences
Vinyl fences are, on one hand, quite pricey at first. But, on the other hand, they are highly durable and very little maintenance is required. They will withstand the worst weather, pests, and rot; they will just need occasional cleaning, no painting or staining, or anything like that. Their price range is roughly $20 to $40 per linear foot. Moreover, as technology advances, vinyl fences are available in various patterns and colors that can almost imitate wood in visual appeal.
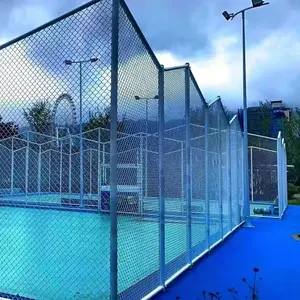
Chain Link Fences
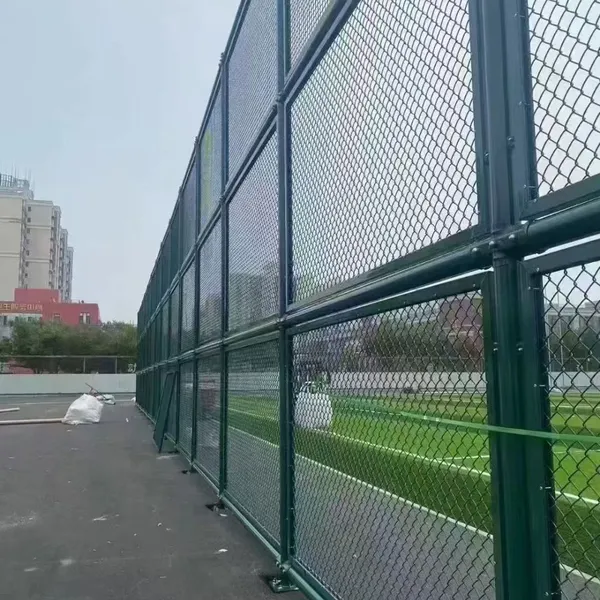
Chain link fences are a convenient choice and thus popular among those who are keen to keep their security costs down. They are one of the most affordable options for securing your premises with a fence. These are the most commonly used types of fences in gardens, playgrounds, and industrial areas. The usual price range for chain link fence installation is typically between $10 and $20 per linear foot. To enhance the appearance and strength of the fencing, one could go for a vinyl or polyester coating.
Aluminum and Steel Fences
Aluminum and steel fences offer a choice that is both trendy and sleek. They are good at making the area look nice while also being strong and lightweight. However, steel utilities provide more safety than their counterparts. The prices for aluminum fences are about $20 to $30 per linear foot, whereas for steel, it is $30 to $50. Both types of fences are rustproof; however, maintenance may not be entirely avoidable.
Composite Fences
Composite fences are made from a combination of wood fibers and plastic. They look like wood, but they are more durable and require less maintenance. In addition, they are environmentally friendly because the manufacturers use reclaimed materials. The average installation cost for this type of fence is around $25 to $45 per linear foot, which is an expensive option, albeit an eco-friendly one.
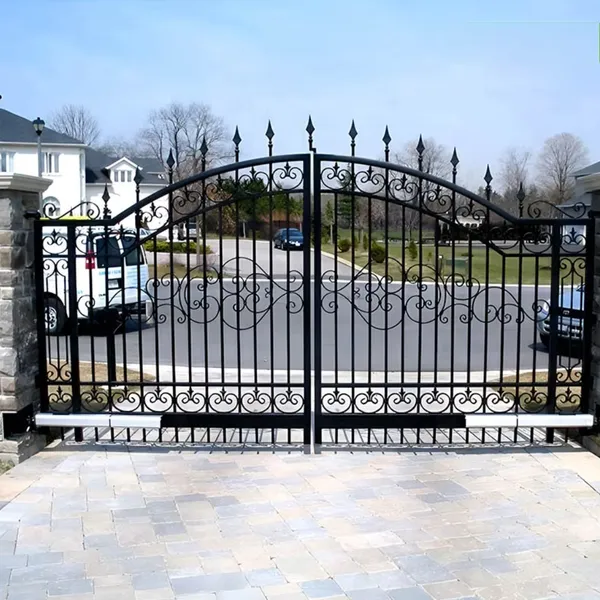
Wrought Iron Fences
Wrought iron fences can be an ideal choice for consumers who want a beautiful, lasting display. They are strong and provide good security but require constant maintenance to keep rust at bay. The installation cost is around $30 to $50 per linear foot. Despite the high initial cost, the impact that wrought iron has on luxury homes might justify it.
When determining your fence, consider the budget you have, the local climate, and the main reasons why you need a fence, for instance, privacy, security, or aesthetic appeal. It might be a good idea to consult a local fencing contractor who can help you choose a solution that meets your long-term user requirements. Homeowners who are familiar with the latest materials and trends can make informed decisions that are both functional and increase the property's value.
Comparing Wood, Vinyl, and Picket Fences
Parameter | Wood Fence | Vinyl Fence | Picket Fence |
|---|---|---|---|
Durability | 10-20 years, prone to rot and pests | 30+ years, weather and pest resistant | Varies, often wood or vinyl material |
Maintenance | Regular staining, sealing, and repairs | Occasional cleaning, no staining required | Depends on material, minimal for vinyl |
Cost | Lower upfront, higher long-term costs | Higher upfront, lower long-term costs | Moderate, varies by material |
Aesthetics | Natural, warm, customizable with stains | Clean, modern, faux-wood options available | Classic, decorative, enhances curb appeal |
Sustainability | Natural but requires chemical treatments | Recyclable, eco-friendly over time | Depends on material used |
Installation | DIY possible, more tools needed | Easier, interlocking panels | Easy, pre-assembled panels available |
Weather Resistance | Susceptible to moisture and warping | Resistant to moisture and UV rays | Varies, vinyl is highly resistant |
Property Value | Decreases over time | Retains value, better ROI | Adds charm, depends on material |
Best For | Short-term use, rustic aesthetics | Long-term investment, low maintenance | Decorative, boundary marking |
Factors to Consider When Choosing a Fence Material
Durability
Each material has its own level of durability. For example, if wood is not properly cared for, it will eventually rot, while vinyl fencing is more resistant to weathering and insects. Generally speaking, a cedar wood fence taken care of properly can last up to 15-20 years, while vinyl fences can outlast this period by 20-30 years even with little to no care.
Cost
Cost is one of the major factors determining which materials to use. The cheapest option available on the market is chain-link fencing which costs approximately $5 to $10 for each linear foot. In contrast, the price of wood fencing ranges from $10 to $30 per linear foot, and upscale materials like wrought iron or composite might be priced anywhere from $25 to $50 per linear foot.
Maintenance Requirements
What will be the maintenance level of the material that you are going to use? Wood fencing will likely require staining or sealing every few years, while vinyl and aluminum fencing will only need occasional cleaning, if any. You should consider how much time and resources you are willing to allocate for maintenance.
Aesthetic Appeal
Fence aesthetics will significantly influence your house's appeal to buyers. The first and foremost thing about wood fencing is its natural beauty which can be either painted or stained to match one's preference. Vinyl comes in modern colors, and wrought iron is for sure an undisputed king of elegance and sophistication in fencing that lasts long.
Functionality
The main purpose of the fence will determine the material to be used. Say, for instance, your goal is to block out nosy neighbors, then wood or vinyl panel fences are your best options. For security, choose metal options like aluminum or steel. On the other hand, picket fencing is purely decorative.
Reflecting on these essential aspects can help homeowners to discover the most appropriate fencing material that meets all their needs, remains within their financial plan, and is of their preferred style.
Understanding Your Property Line and Legal Considerations
Identifying the boundaries of your land is essential before installing the fence to avoid future disputes with neighbors over ownership. It is advisable to begin this process by reviewing your land survey or plat map, which shows the precise property boundaries of your lot. If these records are unattainable, it is better to hire a professional surveyor to determine the boundaries. Constructing a fence even a few inches beyond the property lines could lead to a costly lawsuit, as disagreements over property encroachments are among the most common issues between neighbors.
Then, be sure to verify the local zoning and codes, as local authorities may have special regulations governing fence height, location, and materials. For example, many areas limit the height of fences in backyards to 6 feet, while those in front yards are typically about 4 feet. Some municipalities do not permit the construction of a wall until a permit is issued, and homeowners' association (HOA) rules may govern the fence’s appearance and even its color.
According to a 2023 Forbes Advisor report, the standard rate for a surveyor's service ranges from $400 to $700, depending on the land's complexity and the area's location. The steps of being compliant with local rules, knowing where your property lines are from the very beginning, and which may also save you time and money in the long run are not a waste of effort. Sometimes, a conversation with your neighbors about the fence project could actually help to foster a good relationship and prevent misunderstandings.
Planning Your Fence Installation
A fence's installation can only be successful when good planning is in place, and new knowledge, along with data, can ease the process. Decide what you want to achieve with your property after assessing its features; do you want it to be more secluded, safer, or simply to demarcate your property from others? The latest data from Google Search shows that wood and vinyl fences are the most popular ones when it comes to privacy and the average cost of wood fencing installation is $17-$25 per foot while vinyl ones are $15-$30 per foot.
First, confirm your local zoning laws and obtain the necessary permits. A lot of cities do so and in many cases, a permit is required for fenced yards that are over six feet tall. Sometimes being unknowledgeable of such regulations can lead to fines, and in extreme cases, you might have to remove and then reconstruct the fence which, of course, is not cheap. Before you start all this, make sure you contact the utility company to have your utilities marked; otherwise, you might be penalized heavily and the project could be delayed. A recent estimate of about $5,000 is cited as the average cost of each utility line damage incident for homeowners, highlighting how expensive proper planning is.
Thus, do not think twice before buying materials of the highest quality for your project and consider the cost of long-term maintenance too. Even though the upfront cost of such materials as aluminum or composite plastic might be high, their durability and resistance to weather extremes might save the person significantly over time. You not only obtain the functional goals when building your fence wisely but you also increase the property value and gain an aesthetically pleasing property.
Measuring and Marking the Fence Line
The very first and most crucial action that will significantly contribute to the success of the installation is the accurate and marking of the fence boundary. The property line, which is on the survey map or deed, should be checked so that going beyond your neighbor's property is avoided. The newest recommendations suggest using a very high-quality tape measure or a measuring wheel for highly accurate measurements. The professionals recommend using stakes and string to indicate the fence line, as it provides not only a visual reference but also a straight, consistent alignment.
To carry out your plan, measure the entire length of your fence and determine the amount of material required. The fencing around a typical residential yard varies from only 150 to 300 feet, depending on the size and shape of the lot. Posts are mentioned here, they are now commonly spaced about 6 to 8 feet apart, at gates or other access points where wider gaps may be needed, use your discretion.
Before the digging tools come out, contact a locator service for utilities to show the spots of all underground utilities because breaking a line can lead to very costly repairs and even jeopardize your safety. Latest statistics indicate that an average of 500,000 cases of utility damages occur each year in the US, and most of them could have been avoided by simply taking the right precautions. Thorough planning and marking not only eliminate conflicts but also provide a strong foundation for erecting a fence that will be both sturdy and lasting.
Design Considerations for Your New Fence
If you are contemplating the building of a new fence, it is essential to consider a number of design elements that will be able to help to cater your needs and also to provide a good value for your property beforehand. The following are five factors that should be emphasized:
Purpose of the Fence
Explain your fence's main purpose. Is it to protect your property from curious eyes, to increase the security of your land, to enhance the beauty of your surroundings, to stop animals from moving around freely, or to clarify the limits of your property? The choice of material, the height, and the design details all vary depending on the purpose.
Material Selection
Choose a material that not only suits your taste but also your budget and maintenance needs. Wood, Vinyl, Metal, and Composite are the most popular materials. Facebook could be about them. A wooden fence, for instance, has a beautiful classic appearance but would require regular maintenance either by staining or sealing. At the same time, vinyl is basically worry-free and thus lasts for many years.
Height and Style
Height and style of your fence should be both a trade-off between function and beauty. Privacy fencing usually ranges between 6 and 8 feet while decorative fencing tends to be shorter. You can choose a design similar to picket, lattice, or horizontal, which will work well with your property's architecture.
Local Regulations and Permits
It is advised that you check the zoning regulations in your area or the homeowners' association guidelines, and ensure compliance with any required height limitations, property line requirements, and permits. Not abiding by these rules may eventually result in costly legal issues or even shutting down your fence.
Budget and Longevity
Lay out your budget carefully, and add not only the installation cost but also the maintenance fees for the life of the fence to the total. In the case of a chain link fence, you might not have to spend a lot at first, but then you will have to spend on wooden fences more frequently than others, as they need to be maintained regularly.
After these points have been examined, it is possible to fence off an area that is functional, durable, and beautiful.
Step-by-Step Guide to Installing a Fence
1. Planning and Preparation
Pre-installation planning must be thorough. The first step should be to verify the correctness of the property lines. To properly place the fence, refer to either the property survey or the local surveyor's advice. It would be wise to check with local zoning authorities and HOA rules as well. Otherwise, disputes can arise or compliance can be lost. The most recent study indicates that the maximum fines for unpermitted installations on ridgelines may reach $5,000, depending on the region.
Also, measure the area where the fence will be installed and estimate the length of fencing required. It could be worthwhile to use calculators available online for this purpose, as they would help you determine the necessary quantity of materials based on your measurements. For example, the price range of fencing installation in the U. S is between $1,500 and $4,000, depending on the material, with vinyl fencing costing about $25-$40 and wood fencing $15-$30 per linear foot.
2. Gathering Materials and Tools
To make things easier, gather the materials and tools you will need in advance. The typical materials include fence posts, panels, and hardware such as nails, screws, and brackets. Additionally, the tools required will include a post-hole digger, level, measuring tape, power drill, and concrete mix.
Consider the quality and maintenance of the materials chosen. For instance:
Chain link fences require less maintenance and are low-cost but in terms of privacy, they are the least advantageous.
Vinyl fencing is a bit pricey at the start, but it will eventually be the least costly because it is weatherproof and has a long lifespan.
Wood fencing looks natural, but it needs to be maintained regularly.
3. Marking and Digging Post Holes
For getting the fence alignment straight, use stakes and string lines to post the locations of the fence. Generally, fence posts 6 to 8 feet apart should be spaced as they give good support. Marking post locations can be done with spray paint or chalk.
Make holes 2 to 3 feet deep (or below the frost line in cold-weather areas) and about 6 to 10 inches wide. An auger or a post hole digger can help make this work more uniform and faster. According to equipment manufacturers, to avoid instability, the underground portion of the post must be at least one-third of its overall length.
4. Installing Fence Posts
Insert the posts into the holes and adjust until they are straight and leveled. For stabilization, pour concrete into the holes and let it cure for 24 to 48 hours which is the time needed to reach full strength. Checking posts with a level at this stage is good practice to ensure none are inadvertently placed on a slope. Many people prefer quick-set concrete because it hardens in just 20 to 40 minutes, thereby speeding up the installation process.
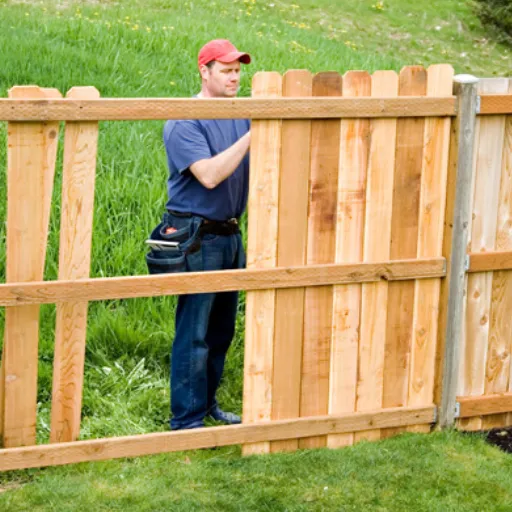
5. Attaching Fence Panels or Rails
Once the posts are confirmed to be secure, the next step is to attach the fence panels or rails. Depending on the fence material use brackets, screws, or nails. Every panel must be properly leveled and aligned to give a tidy appearance.
If you are installing a chain link fence, the screen material will be pulled tight between the posts, then it will be secured with tension bands and wire ties. For wood or vinyl fences, the panels will be either screwed or nailed directly to the posts or to horizontal rails.
6. Finishing Touches
Put post caps, stain, or paint as finishing touches that will not only make the fence look better but also prolong the fence's life. A weather-resistant sealant will be used to treat a wooden wall, which will then be protected against moisture and decay. Furthermore, inspect the fence in detail to ensure all panels are securely fastened and correctly positioned.
7. Maintenance and Longevity
Regular maintenance will make the fence look great and strong for many years to come. For example, wooden fences can be painted or re-sealed every 3-5 years while vinyl and metal require just occasional cleaning with soap and water. Studies reveal that well-maintained fences can last up to 20% longer than poorly-maintained ones.
If you follow these detailed instructions and do the necessary planning, you will be able to install a fence that not only provides the benefits of privacy and property delineation but also adds to the value and security of the land while repairing cost is avoided.
Preparing the Site and Gathering Tools
First off, I marked the exact location of the fence using stakes and string to create a straight line. Besides, I was very careful about the underground cables and pipes by contacting the utility companies in my neighborhood. Only upon taking these precautions did I prepare the tools needed like post hole digger, level, measuring tape, and shovel, hence the whole installation process would proceed smoothly.
Digging Post Holes: Best Practices
The process of digging post holes is vital when constructing a heavy-duty fence that lasts long. To achieve the most effective and efficient results, it is recommended to first clearly indicate the areas where each post will be situated. The distance between posts depends on the type of fence being built, but a common rule is to space them about 6 to 8 feet apart. To ensure that the structure is uniform, a tape measure should be used to get the exact spacing right.
When you are digging holes, aim for a depth of one-third the height of the post that will be above the ground or at least 2 feet of depth, whichever is greater. This depth will not only secure the posts but also equip them to withstand wind and other environmental stresses. A method of digging that is fast and accurate is recommended by experts as mentioned in online sources using a post hole digger or an auger. Additionally, the hole diameter should be approximately 3 times the post diameter to ensure proper filling and stability.
Soil type should be among the foremost considerations when it comes to post-setting. Loose or sandy soils require not only deeper holes but also extra support like gravel or concrete. On the contrary, clay soil, which retains more water, needs good drainage to prevent water from pooling around the posts, which can cause rot. It is a common practice to lay down a 6-inch layer of gravel at the bottom of each hole to facilitate drainage.
Make sure to use a level when backfilling to check that the posts are erect. If you plan to use concrete for filling, mix it according to the manufacturer's instructions and allow it to cure fully—usually 24 to 48 hours—before moving on to the next step of the project. Being careful in these stages will give you a strong locking system for your fence.
Setting Fence Posts for Stability
To a considerable extent, the stability of your fence posts determines how long a fence can last and how resilient it is. Stability is attainable through proper preparation. According to the latest recommendations from experts, the posts should be about a third to a half of their height above ground on average. Hence, posts of 6-foot-high fences should be 2 to 3 feet deep at least. The depth not only gives the fence wind resistance but also slows its leaning or falling over time due to environmental factors.
In addition, by applying a 6- to 8-inch-thick layer of angular gravel at the bottom of each posthole, you can improve stability, improve drainage, and thus eliminate water accumulation that could otherwise cause the wooden posts to decay or move. If your area is likely to experience frost, then going below the frost line, which is usually around 3 to 4 feet deep, could prevent frost heave, which might push the posts out of alignment during freeze-thaw cycles.
Setting posts in concrete often requires quick-setting concrete due to its ease of use and rapid curing times of 20 to 40 minutes or less. Concrete should be poured all around the post and the top should slope down a bit to direct the water away from the post. It is a wise practice to apply a wood preservative to the underground part of your wood post if you want to make them last longer, especially for wood posts.
Be mindful that the ideal spacing between posts is 6-8 feet, but this may vary depending on the type of fence being erected. The distance can be increased for lightweight materials and decreased to provide more support for heavier or taller fences. These practices, performed alongside regular maintenance, will help preserve the structural integrity of your fence for a long time.
Installing Fence Panels: Techniques and Tips
The execution of fence panel installation cannot only be made much easier but can also be very fruitful with the application of proper methods along with the strong backing of meticulous planning. The five tips that are given below are the fundamentals:
Prise and Align Posts
Ensure that your fence posts are not only perfectly aligned but also evenly spaced throughout. Before driving the nail through a post, verify that it is as straight as possible with a spirit level. This will prevent any faults in the fence, such as unevenness, which could make it weaker.
Verifу Fence Panel Size
Recheck the sizes of the fence panels to ensure they will fit the space between the posts. Panels that are either smaller or larger than needed may need to be adjusted, which may increase installation time to some extent.
Fix Panels with Screws or Brackets
The fence panels should be connected to the posts using high-quality screws or metal brackets. This way, you will be assured that the joint is sturdy enough to withstand the natural elements' blows, like the wind or impacts.
Coatings to Protect Applied
Before installation begins, apply a protective coating to your fence panels, such as wood and sealant paint. It will not only prolong the material's life but also form a barrier that protects it from the weather.
Panels to Be Aligned Accurately
Keep in mind that a fence’s appearance from the street view sometimes depends on a proper alignment of each panel at the right height. Moreover, it will help prevent gaps. To aid in the setting of the entire fence line to parasitic affect, use a string line as a guide.
If you follow these techniques, you will not only have a fence, but also a strong, beautiful one that will last for many years.
Frequently Asked Questions (FAQ)
How do I put up a fence and set posts on a gentle slope?
The installation of a fence and the placement of posts on a gentle slope require that you consider both post spacing and panel placement so that the fence follows the slope. At ground level, measure the distance between posts and choose stair-step or racked panels depending on the appearance you want. Dig a hole for each post, either using a post hole digger or a hole digger, to the depth required by local codes, and often that is 6 to 8 inches of gravel at the bottom, plus deeper for concrete. Put the post in, use a level to make sure it is vertical, prop it up, and fill with either concrete mix or gravel, whichever is the case, as per the manufacturer's directions. Most fence posts should be placed apart 6 to 8 feet and surrounding the post with proper drainage will prevent your fence from rotting and frost heaving.
What is the best way to put up a fence and set the posts if no concrete is used?
With compacted gravel in the post and dirt around it, one can do this. A hole should be dug large enough to hold the post plus at least 3 to 4 inches of gravel under the post for drainage. Place the post in the hole, if you want you can use a post bracket, ensure that the post is upright and take support while you tamp and compact the gravel in 6 to 8 inch increments around the post. This method allows water to flow through easily and possibly less rot if you employ treated wood posts and a finish-protected fence. In specific locations, local codes or severe wind conditions might necessitate the use of concrete.
As I am putting up the fence, how deep should I dig the holes for the posts?
For a privacy fence, dig a hole deep enough to be below the frost line, as required by local codes. A common rule of thumb is that about a third of the post length should be below ground, or at least 2 to 3 feet deep. The hole should be filled with gravel at the bottom for drainage, and you can use concrete to set the posts more securely. Measure the distance between the posts and ensure they are vertical before the concrete hardens. In case of an 8-foot high fence, consider a longer post profile so that the installation length is in the ground and decaying can be prevented through pressure treatment or other methods.
How do I fence and panel if the posts are already set and they are aligned with the existing fence?
In the presence of existing posts, first check the spacing (in linear feet) between posts and their quality. Measure the distance between posts and find out the size of the panel; many panels go well with spacings of 6 to 8 feet. A level will help you to ensure that the posts are plumb and any leaning posts should be replaced or supported before the panels are attached. Depending on the manufacturer's instructions, attach the panels to the posts using either brackets or screws and mount gate posts of the right size in openings. When replacing panels in existing fences, consider using moisture-resistant material, using treated rails, or finishing the rails with a protective coating to prolong the fence's life.
What is the correct technique of installing a garden fence and protecting the posts from decay?
For a garden fence, use treated posts or rot-resistant materials, and place gravel at the base of the hole to improve drainage. Place the post so the soil level is slightly inclined away from the post to prevent moisture from being trapped against the wood. If you want to ensure stronger stability, by all means use a concrete mix but remember to slope the top of the concrete away from the post to let water run-off. Fill around the post and think of using a protective sleeve or post bracket to prevent the wood from being in direct contact with the wet ground. Regular maintenance and sealing will protect your fence from the weather.
What is the ideal spacing between posts and how do you measure the distance between posts when installing a fence?
For most types of fences, the ideal spacing between posts is 6 to 8 feet, but measure according to panel width and the manufacturer's instructions. To measure the distance between the posts, start at the first fence post and measure along the fence line to the next post position, taking into account any gates and corners. Mark the places that have equal distances and also fit the gate and slope transitions. A string line can assist in keeping the entire fence line straight; locate the first fence post with great accuracy as it will determine the alignment for the next post.
What is the correct method to install the gate posts and place the post for the first fence post so that the gate works perfectly?
The gate posts need to be more robust than the standard posts as they bear more weight. Thus, use a larger post, concrete mix for setting the posts deeper, and keep the posts vertical and with braces until the concrete sets. The first fence post at the gate should have a hole that is wider and deeper than the typical post holes, add gravel for good drainage, and set the posts with concrete for stability against movement. After that, attach heavy-duty brackets or hardware and check the gate leaf's alignment so it opens and closes without difficulty. Spacing hinges according to the manufacturer and securing your gate posts well will provide support for the gate for many years to come.
Recently Posted
-
Building a Security Fence: Your Guide to High-Security Solutions
February 5, 2026The security fence functions as the primary defense system of your commercial property, industrial site, and private estate becaus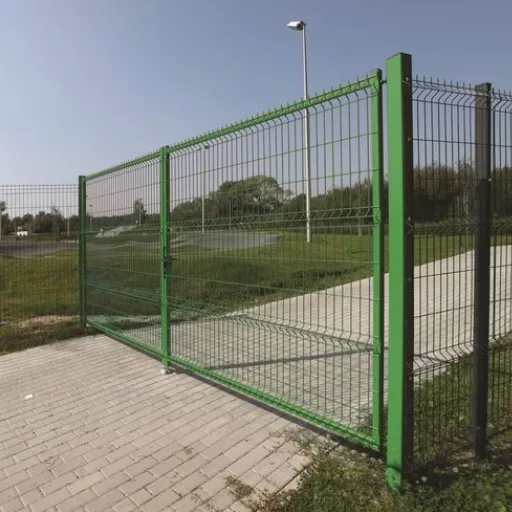 Read More
 -
How to Build a Security Fence: A Comprehensive Guide to Installing Chain Link Security Fences
February 4, 2026Constructing a security fence is an effective way to protect your property, define its boundaries, and enhance your privacy. The v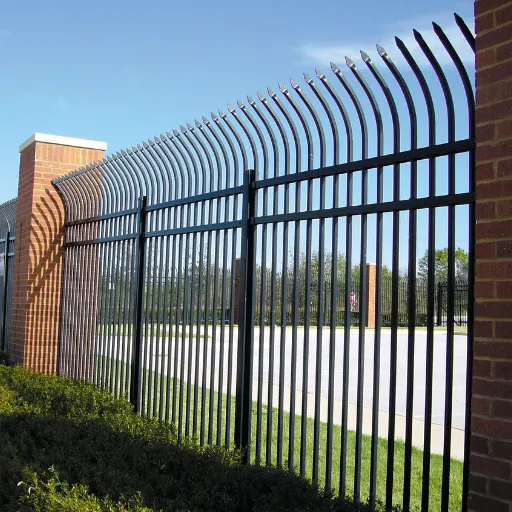 Read More
 -
Iron Yard Fence: The Ultimate Guide to Wrought Iron Fencing for Your Garden
February 3, 2026The design of a garden fence goes beyond establishing property borders because it serves two main purposes by enhancing the visual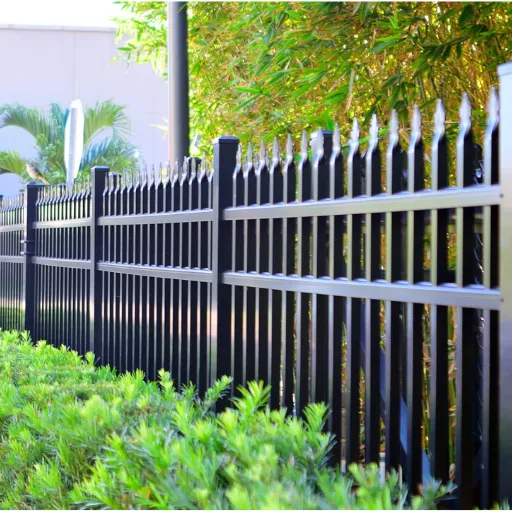 Read More
 -
Cast Iron Garden Fence: The Ultimate Guide to Durable and Decorative Garden Edging
February 2, 2026The cast iron garden fence functions as a boundary that creates an everlasting combination of practical use and aesthetic beauty t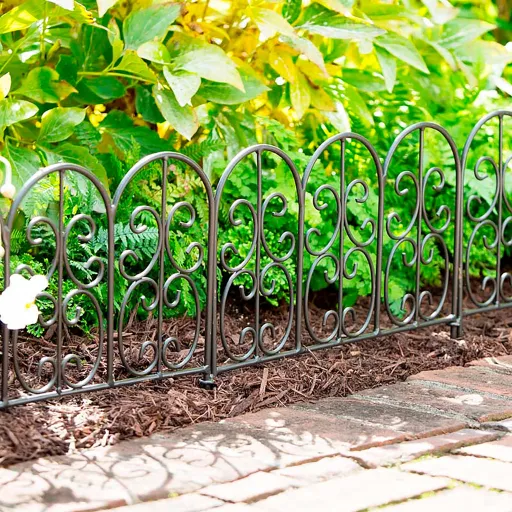 Read More

Contact Us
Recommended Products
-
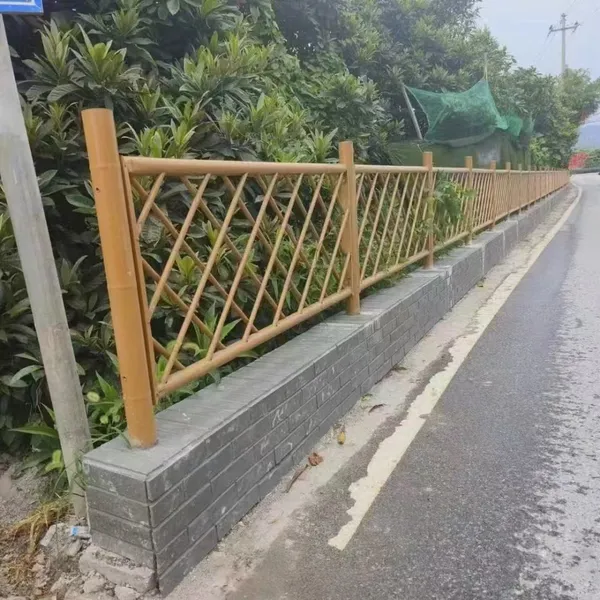
 Durable Imitation Bamboo Fence for High-Traffic Public SpacesNegotiableMOQ: 50 Square Meters
 -
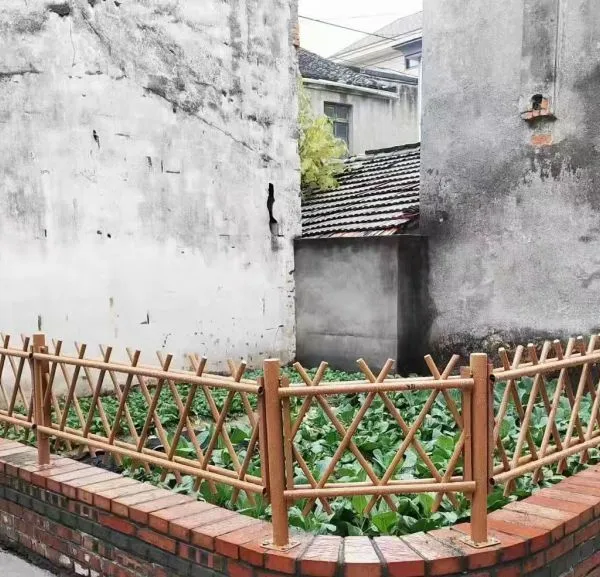
Customizable Imitation Bamboo Fence With On-Site Measurement ServiceNegotiableMOQ: 50 Square Meters
-
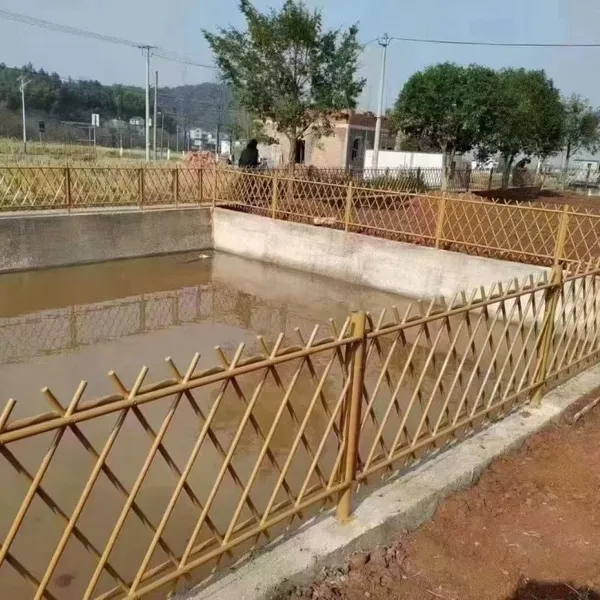
Modular Imitation Bamboo Fence Panels for Quick InstallationNegotiableMOQ: 50 Square Meters
-
Imitation Bamboo Privacy Fence With Reinforced Aluminum BaseNegotiableMOQ: 50 Square Meters
-
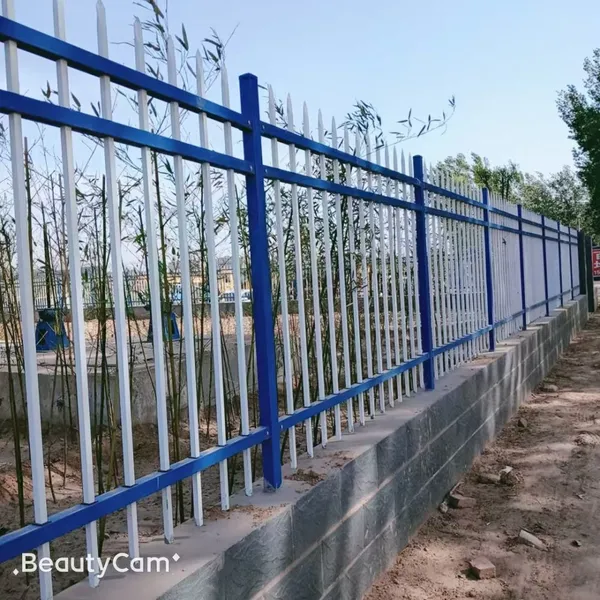
Commercial Grade Villa Fence for Real Estate Developments and Hotel Perimeter ApplicationsNegotiableMOQ: 10 Sets

-
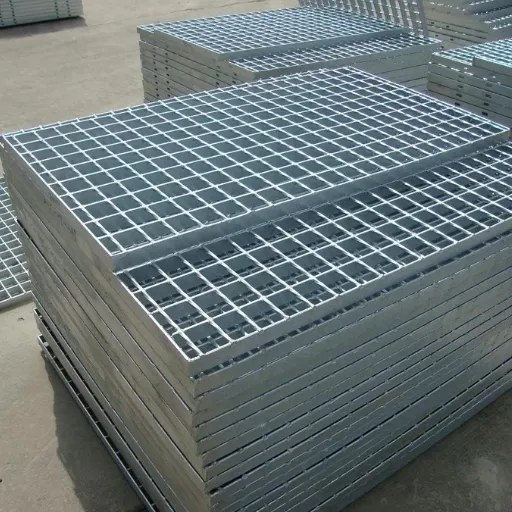
Industrial Steel Grating Solutions for Oil and Gas Platforms, Compatible With Harsh ConditionsNegotiableMOQ: 10 Pieces
-
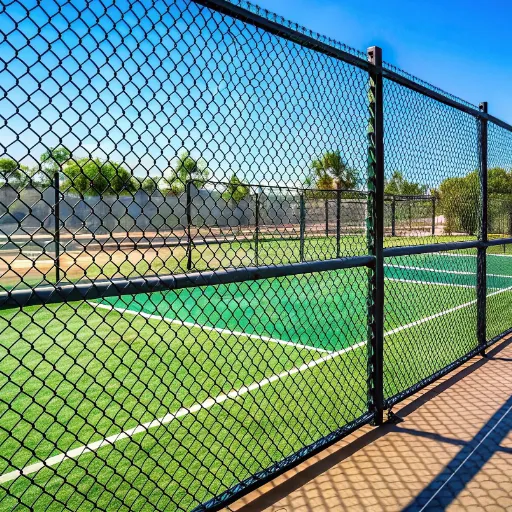
Basketball Court Fence 4M Height, Galvanized Steel Chain Link Mesh for Outdoor Sports Field PerimeterNegotiableMOQ: 50 Square Meters
-
Chain Link Basketball Court Fence Offering Anti-Rust Protection and Long-Term PerformanceNegotiableMOQ: 50 Square Meters
-
European Style Villa Fence Concrete Base Installation Courtyard Boundary WallNegotiableMOQ: 100 Square Meters
-
Galvanized Steel Villa Fence With Powder Coating for Superior Corrosion ResistanceNegotiableMOQ: 100 Square Meters
-
Powder-Coated Basketball Court Fencing With Weatherproof Finish for Long-Term Outdoor ApplicationNegotiableMOQ: 100 Square Meters
-
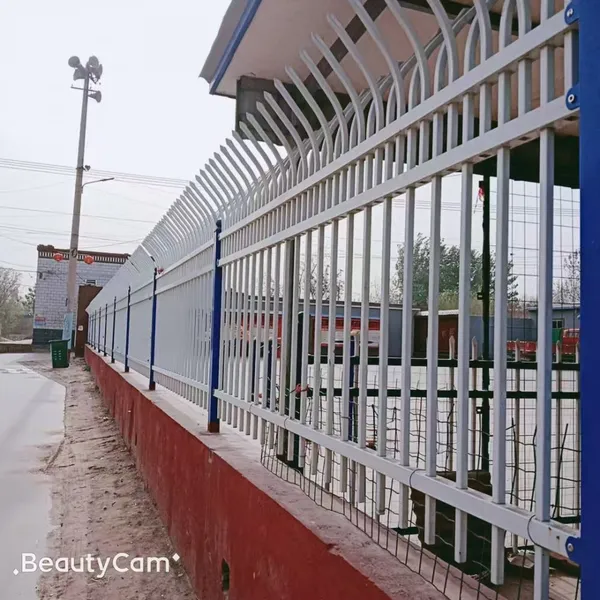
Powder Coated Wrought Iron Main Gate and Garden Fence for HousesNegotiableMOQ: 100 Square Meters
-
Elevate Your Garden With an Artistic Wrought Iron Garden Fence | Uniting Security & EleganceNegotiableMOQ: 100 Square Meters
-
Low-Maintenance Wrought Iron Garden Fence | Durable Powder-Coated Steel PicketsNegotiableMOQ: 100 Square Meters
-
Heavy-Duty Villa Fence: 10 Gauge Steel Construction With Powder Coating for DurabilityNegotiableMOQ: 10 Sets

-
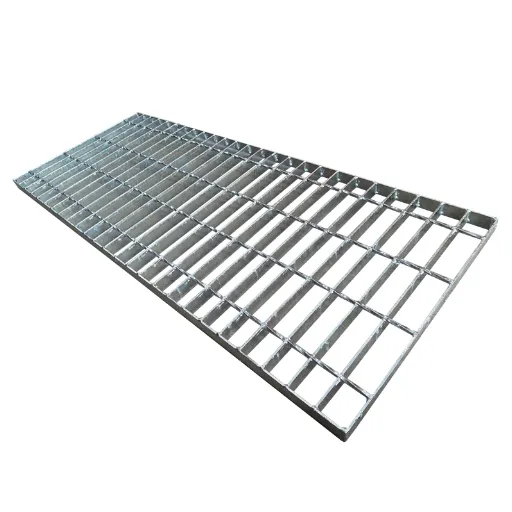
Anti-Slip Steel Grating Panels for Enhanced Safety in Wet and Slippery Work AreasNegotiableMOQ: 10 Pieces
-
Steel Grating for Stair Treads and Catwalks in Commercial and Factory BuildingsNegotiableMOQ: 10 Pieces
-
High-Security Villa Fence With Lockable Gates and Weather-Resistant Finish for Home ProtectionNegotiableMOQ: 10 Sets
-
Galvanized Steel Basketball Enclosure Netting / Ball Containment System With Frame for Outdoor CourtsNegotiableMOQ: 50 Square Meters
-
Vinyl Coated Chain Link Fencing for Basketball, Pickleball & Tennis CourtsNegotiableMOQ: 500 Square Meters